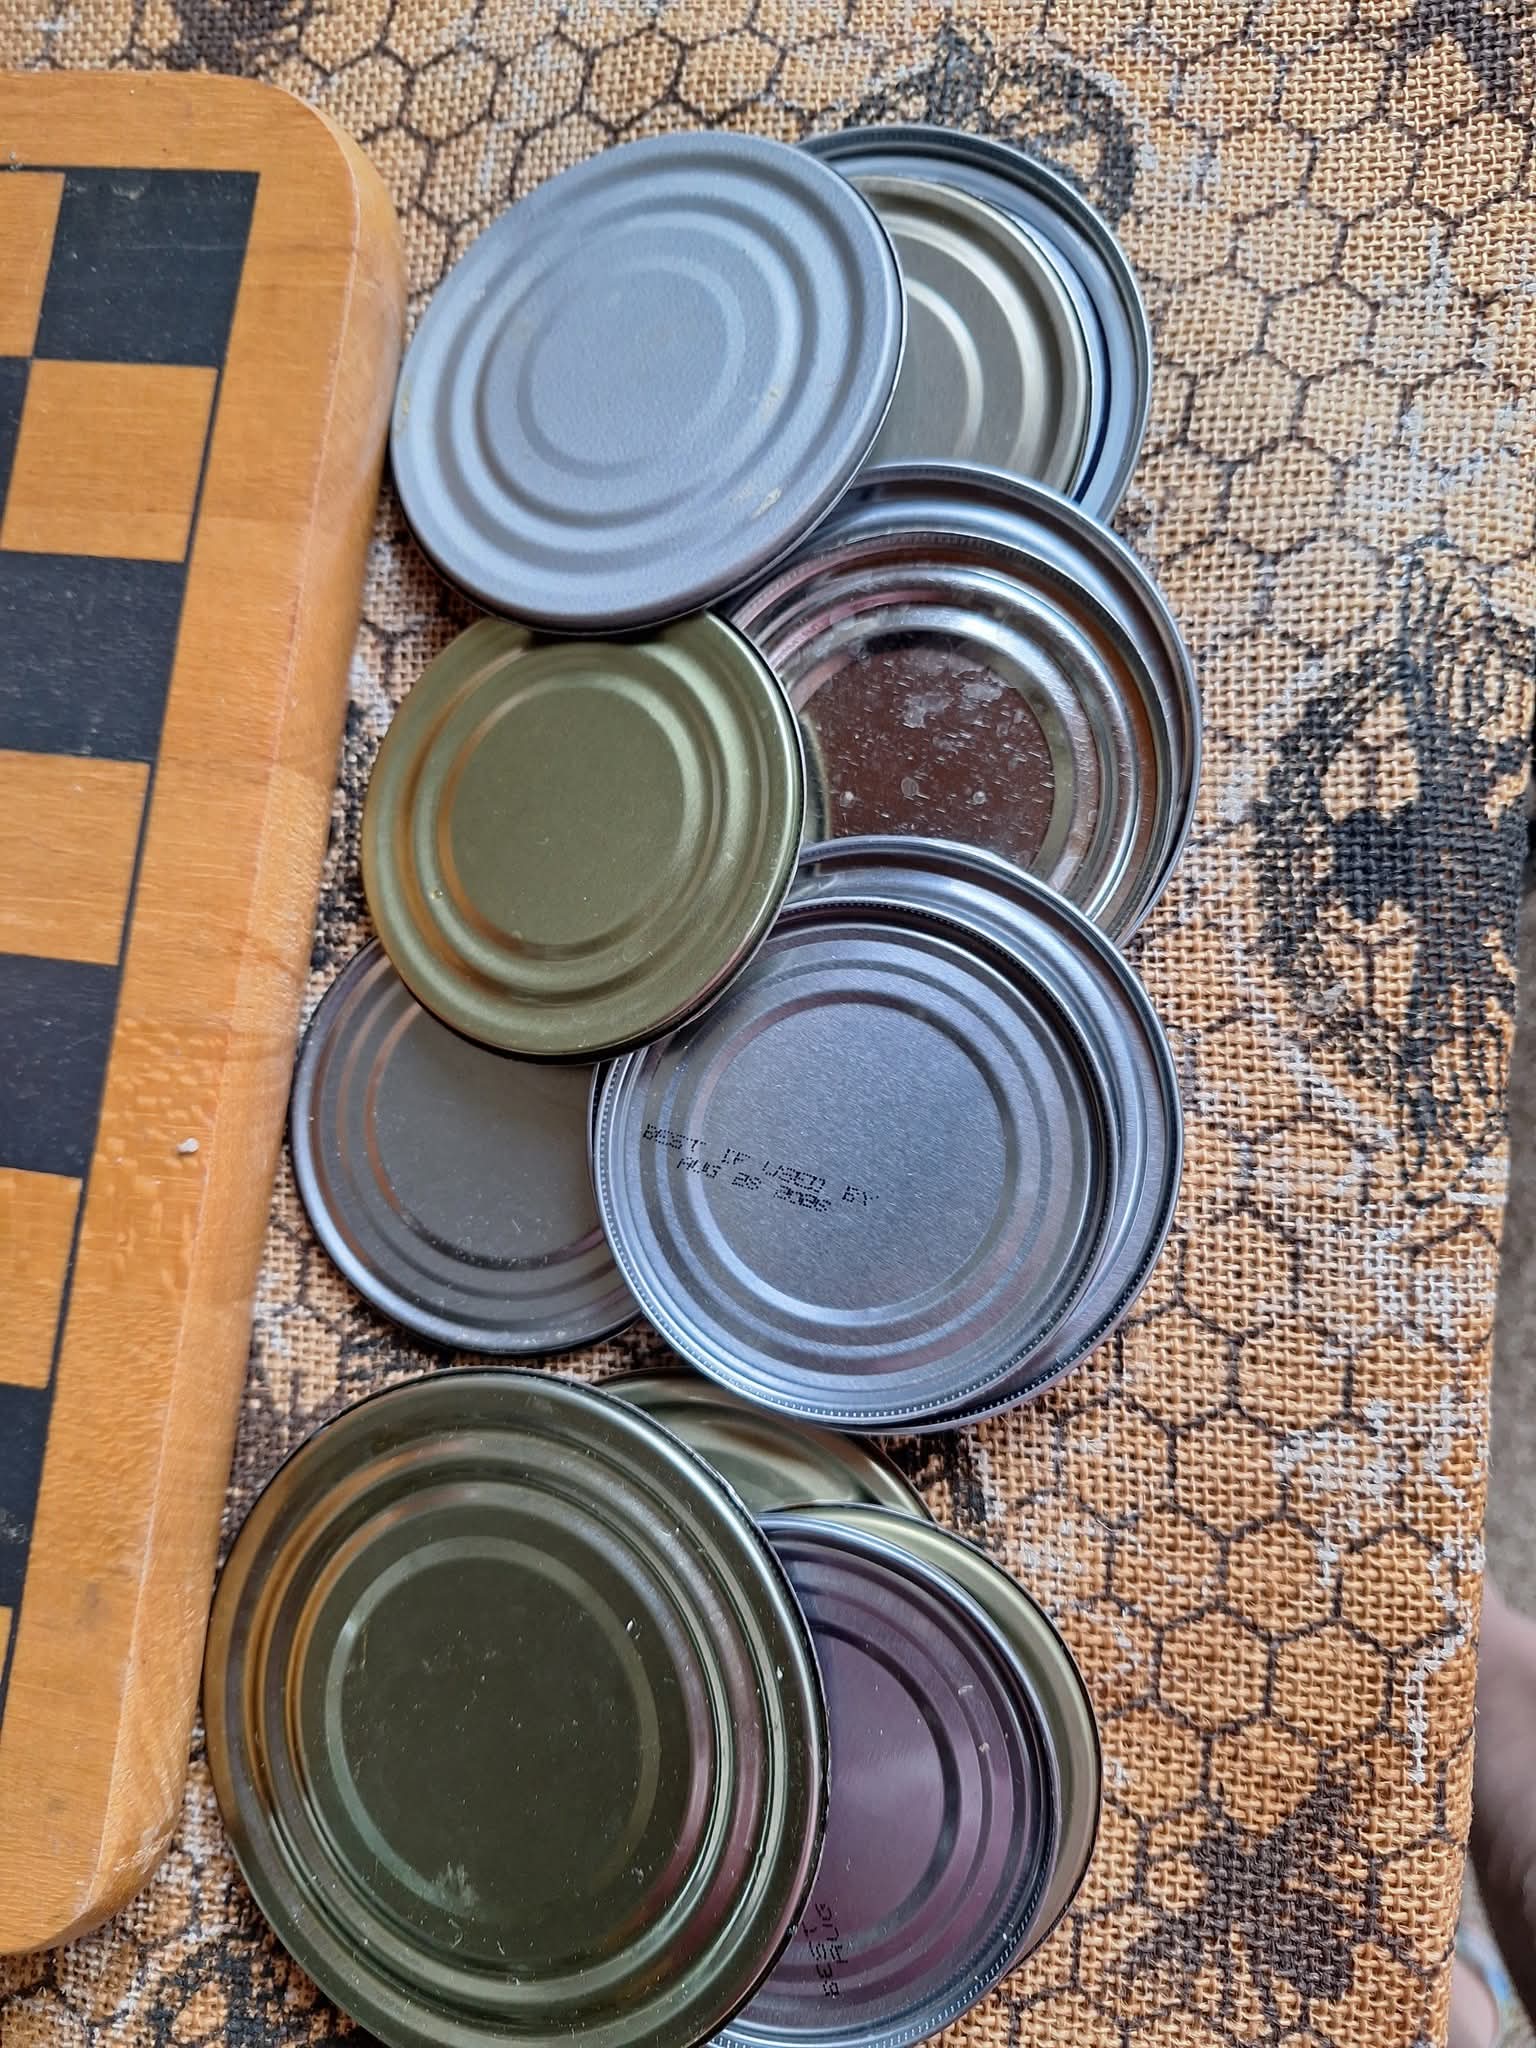
♻️ Don’t Throw Away Those Tin Can Lids! Clever Ways to Reuse Them
If you have been using a can opener that removes the lid without leaving a sharp, jagged edge, don’t throw those lids in the recycling bin just yet!
Those little metal circles can become surprisingly useful craft materials.
Smooth-edged can lids can be decorated, painted, stamped, turned into garden markers, ornaments, magnets, coasters, gift tags, and even small pieces of wall décor. Crafters have been repurposing them for years, especially when using a safety-style opener that leaves a smooth edge. (B+C Guides)
And because you’re starting with something that would otherwise be discarded, many of these projects cost almost nothing.
🌱 Why Save Tin Can Lids?
One of the best things about upcycling is discovering that something you normally throw away can become useful.
Instead of buying craft blanks, you can save your clean can lids and build up a little collection.
Different sizes can be used for different projects, and you can decorate them to match any season.
Think of them as tiny blank canvases made from metal.
🌼 1. Make Garden Markers
This might be one of the most useful ideas if you love gardening.
Write the names of your plants directly onto the lids:
- Tomatoes
- Basil
- Peppers
- Beans
- Carrots
- Lettuce
- Thyme
- Rosemary
- Mint
You can paint the lids first or leave the metal exposed and simply add the plant names.
For a more permanent garden marker, stamping or engraving the lettering is preferable to relying on ordinary permanent marker, which can fade outdoors. (Éco Maison & Jardin)
Attach the lid to a wooden stick, bamboo skewer, or another suitable garden stake.
Now you have a practically free plant marker!
🧲 2. Turn Them Into Magnets
A smooth metal lid makes a great base for a refrigerator magnet.
Decorate the front with:
- Fabric
- Scrapbook paper
- Photos
- Painted designs
- Inspirational sayings
- Family names
- Seasonal decorations
Then glue an appropriately sized magnet to the back.
Can-lid craft guides specifically suggest turning decorated lids into magnets, making them inexpensive handmade gifts. (B+C Guides)
Imagine a little collection of homemade magnets covering your refrigerator.
🎄 3. Make Christmas Ornaments
Save your lids throughout the year and turn them into Christmas decorations.
Paint one red.
Another green.
Another white.
Another with a snowman.
You can also glue fabric, scrapbook paper, ribbon, buttons, or other decorations onto the surface.
Punch a small hole near the top, add ribbon or twine, and you’ve got a homemade ornament.
Can lids have long been used for inexpensive holiday ornaments and year-round decorations. (ThriftyFun)
🎅 Ideas for Christmas
Try making:
Snowmen
Reindeer
Santa faces
Christmas trees
Snowflakes
Gingerbread designs
Or simply paint them with a festive pattern.
🌸 4. Make Floral Decorations
Paint your lids in bright colors and turn them into flowers.
You can decorate the metal with petals, add a button or bead in the center, and attach the finished flower to:
- A wreath
- Garden décor
- A wooden sign
- A fence
- A planter
- A wall display
You can even create an entire bouquet of recycled metal flowers.
☕ 5. Make Coasters
Smooth-edged can lids can also become small decorative coasters.
For a practical version, attach a layer of cork or another suitable protective material to the underside. Craft examples use recycled can lids as the base for coasters. (Upcycle Design Lab)
Decorate the top with a design that matches your kitchen.
You could make a set of four with different patterns but the same color scheme.
Homemade coasters + recycled materials = a pretty useful little project.
🏷️ 6. Make Gift Tags
Need a unique gift tag?
Use a can lid.
Paint it.
Write a name on it.
Punch a hole near the edge.
Thread through some ribbon or twine.
Done!
You could even personalize one for each person in your family and attach it to Christmas gifts, birthday presents, baskets, or homemade food gifts.
🖼️ 7. Make Mini Wall Art
Think of the lid as a tiny circular canvas.
Paint a flower.
Add a quote.
Create a miniature landscape.
Make a seasonal design.
Or decorate it with patterned paper.
Several decorated lids can be arranged together as a larger wall display. Can-lid craft projects include wall hangings and other decorative pieces. (B+C Guides)
🕯️ 8. Create Holiday Decorations
You don’t have to wait for Christmas.
Can lids can become decorations for practically any season.
🍂 Fall
Paint them orange, brown, yellow, and red.
Make pumpkins, leaves, or acorns.
🎃 Halloween
Create ghosts, bats, pumpkins, or funny faces.
❤️ Valentine’s Day
Paint them red and pink and add hearts.
🌷 Spring
Make flowers, butterflies, or colorful garden decorations.
☀️ Summer
Try suns, flowers, fruit, or beach-inspired designs.
The possibilities are almost endless.
🐦 9. Make a Decorative Garden Mobile
Punch holes in several lids and connect them with string, twine, or fishing line.
Hang them from a branch or wooden frame.
As they move in the breeze, the metal pieces can create a simple homemade garden decoration.
You can leave them plain for a rustic look or paint each one differently.
Can-lid craft examples include mobiles and hanging decorations. (B+C Guides)
🧵 10. Cover Them With Fabric
Have leftover fabric scraps?
Don’t throw them away either!
Trace around the lid, cut a slightly larger circle, and wrap or glue the fabric around the surface.
Floral fabric would make beautiful spring decorations.
Plaid would look great for fall.
Christmas fabric could turn ordinary lids into holiday ornaments.
You can even coordinate them with curtains, pillows, table runners, or other décor.
🖌️ 11. Make Little Painted Art Pieces
You don’t have to be an artist.
Try simple designs:
- Polka dots
- Stripes
- Flowers
- Hearts
- Stars
- Leaves
- Simple faces
- Initials
- Numbers
- Geometric patterns
A collection of simple painted lids can look surprisingly charming when displayed together.
🧩 12. Make Homemade Game Pieces
Clean lids can also be used as bases for simple craft projects and homemade games.
Paint different colors on them and use them as:
- Counting pieces
- Matching-game pieces
- Color-sorting pieces
- Game markers
- Decorative tokens
Just keep small metal pieces away from very young children because of the choking and handling risks.
🧲 13. Make a Magnetic Message Board Set
Decorate several lids with letters, numbers, or symbols and add magnets to the backs.
You can make your own little magnetic collection for the refrigerator.
For example:
A B C
or
1 2 3
or even family initials.
It’s a fun way to turn something disposable into something personalized.
🎁 14. Make Handmade Gifts
One of the best things about these projects is that they’re inexpensive enough to make in batches.
A few decorated lids can become:
A set of magnets
A set of coasters
A collection of ornaments
Garden markers
Gift tags
Put several together in a small box or gift bag and you’ve got a handmade present that costs very little.
🧰 What You’ll Need
Depending on the project, you may only need:
- Clean can lids
- Paint
- Paintbrushes
- Scrapbook paper
- Fabric scraps
- Ribbon
- Twine
- Glue
- Magnets
- Permanent markers or paint pens
- Hole punch
- Decorative buttons
- Stickers
- Mod Podge or another appropriate sealer
You don’t need to buy everything.
Use what you already have.
That’s part of the fun of upcycling.
⚠️ A Few Safety Tips
Even if your lids don’t have sharp edges, inspect every lid before using it.
A smooth-edge can opener can leave a much safer edge than a conventional opener, which is one reason crafters specifically recommend these lids for projects. (B+C Guides)
Still:
- Check for burrs or rough spots.
- Don’t use damaged or bent lids with sharp areas.
- Wash and dry the lids thoroughly.
- Be careful when punching holes.
- Wear eye protection when drilling or punching metal.
- Keep small pieces away from young children.
- If using paint or adhesives, follow the product’s safety instructions.
- Don’t use craft-painted lids for direct food contact.
And remember: smooth-edged doesn’t mean impossible to injure yourself with. Handle them thoughtfully.
♻️ The Best Part? They’re Basically Free
This is what makes saving can lids so satisfying.
You already bought the food.
The lid would normally be discarded.
Instead, you’re turning it into something useful.
A garden marker.
A magnet.
A Christmas ornament.
A coaster.
A gift tag.
A piece of garden art.
Or something completely different that you invent yourself.
💚 Start a Little “Reuse Box”
Keep a small container in your craft area for clean, smooth-edged can lids.
Don’t worry if you only have two today.
Then three next week.
Then five more the week after.
Eventually you’ll have a whole collection of different sizes.
When inspiration strikes, you already have your supplies.
And that’s the beauty of upcycling:
You don’t always need to buy something new to make something wonderful.
Sometimes the best craft material is something you were about to throw away.
♻️ So Before You Toss That Lid…
Take another look at it.
It’s not just a piece of metal.
It’s a tiny blank canvas.
What would you make with yours? 🌱🎨♻️
