Have you ever walked into a room and been greeted by a fresh, citrusy aroma? Imagine having that invigorating scent in your home, naturally. Planting a lemon in a cup is not only a fun and rewarding project but also a way to bring a touch of nature indoors. This method is perfect for those with limited space or who want to try their hand at gardening without committing to a full-sized plant.AdvertisementPlus, lemon plants are known for their delightful fragrance, which can help freshen up any room. In this article, we will guide you through the process of planting a lemon in a cup, ensuring you do it right and enjoy the benefits of a fresh-smelling home.Step-by-Step Guide For Planting Lemon In CupMaterialsA Fresh Lemon – Choose an organic lemon if possible, as non-organic seeds may be treated with chemicals that hinder germination.A Small Cup or Mug – A 6-8 ounce cup (ceramic, plastic, or glass) works well. Make sure it has drainage holes at the bottom—if it doesn’t, you’ll need to create them.
Potting Soil – Use a well-draining mix, ideally one designed for citrus or a blend of peat moss, perlite, and compost.Small Pebbles or Gravel – For drainage at the bottom of the cup.A Knife or Spoon – To cut the lemon and scoop out seeds.Water – Preferably filtered or rainwater, as tap water with chlorine can slow germination.A Small Plate or Saucer – To catch excess water under the cup.AdvertisementPlastic Wrap or a Clear Plastic Bag – To create a greenhouse effect for germination.A Sunny Spot – A windowsill with at least 6 hours of sunlight daily is ideal.Paper Towel – For cleaning and pre-soaking seeds.Step-by-Step Instructions
Follow these detailed steps to plant your lemon seed and start growing your own citrus plant:Step 1: Extract the SeedsCut your lemon in half carefully using a knife.Gently scoop out the seeds with a spoon or your fingers. Look for plump, white seeds—these are the most viable. Avoid any that are shriveled or discolored.Rinse the seeds under cool water to remove any clinging pulp or sugar, which can attract mold. Pat them dry with a paper towel.Step 2: Pre-Soak the Seeds (Optional but Recommended)
Place the cleaned seeds in a small bowl of lukewarm water.Let them soak for 24 hours. This softens the seed coat and boosts germination rates. Don’t leave them longer than 48 hours to avoid rot.Step 3: Prepare the CupIf your cup doesn’t have drainage holes, use a drill, nail, or sharp tool to poke 3-4 small holes in the bottom. This prevents water from pooling and rotting the roots.Add a ½-inch layer of small pebbles or gravel to the bottom of the cup. This improves drainage and keeps the soil from clogging the holes.Fill the cup with potting soil, leaving about ½ inch of space from the top. Lightly press the soil down but don’t compact it too much—roots need air to grow.Step 4: Plant the SeedsMoisten the soil with water until it feels damp but not soggy. You can use a spray bottle or pour gently.Take 2-3 seeds (planting multiples increases your chances of success) and press them about ½ inch deep into the soil, spacing them evenly if possible.Cover the seeds with a thin layer of soil and gently pat it down.Step 5: Create a Mini Greenhouse
Cover the top of the cup with plastic wrap or place the entire cup inside a clear plastic bag. Secure it loosely with a rubber band or tie.This traps humidity and warmth, mimicking a greenhouse environment to encourage sprouting.Poke a few tiny holes in the plastic for air circulation.Step 6: Place in a Warm, Sunny SpotSet the cup on a windowsill or table that gets plenty of indirect sunlight—at least 6 hours daily. A temperature between 70°F and 85°F (21°C–29°C) is ideal for germination.Avoid direct, scorching sun at this stage, as it can dry out the soil too quickly.Step 7: Water and WaitCheck the soil every 2-3 days. It should stay consistently moist but never waterlogged. If it feels dry, add a small amount of water.Germination typically takes 1-6 weeks, depending on the seed quality and conditions. Be patient—some seeds sprout faster than others.Step 8: Care for the Seedlings
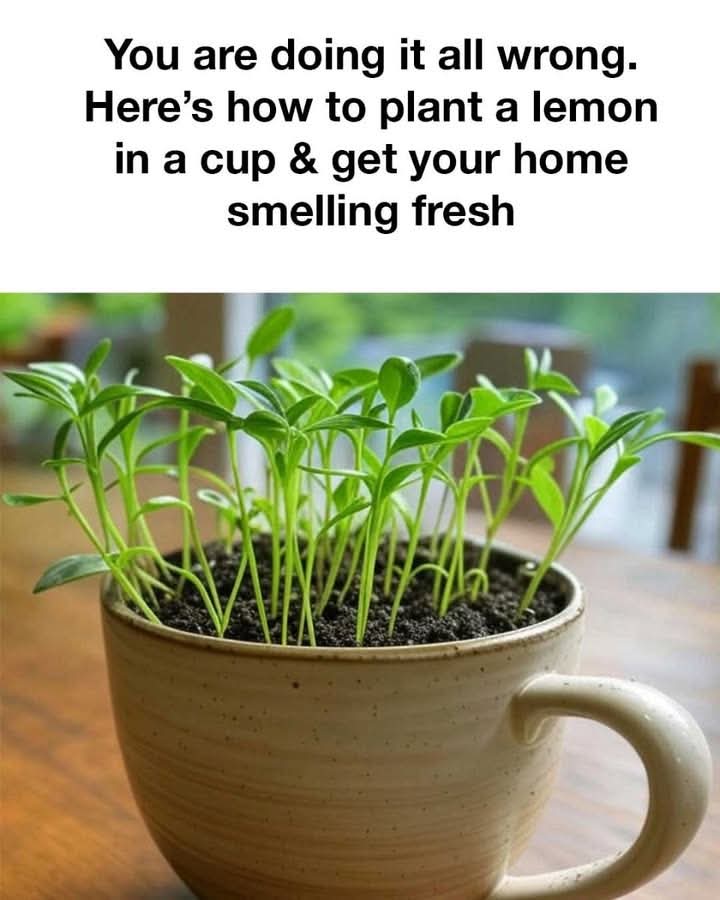
Once you see green sprouts poking through the soil (usually with two small leaves called cotyledons), remove the plastic cover.Continue watering sparingly, keeping the soil moist but not wet. Overwatering is a common mistake that can drown young roots.If multiple seeds sprout, wait until the seedlings are 2-3 inches tall, then snip the weaker ones at soil level with scissors, leaving the strongest one to grow.Step 9: Long-Term Care
As your lemon plant grows, it may outgrow the cup within a few months. When it reaches 6-8 inches tall or develops a few sets of true leaves, transplant it into a larger pot with good drainage.Feed it with a diluted citrus fertilizer (follow package instructions) every 4-6 weeks during spring and summer.Rotate the cup every few days to ensure even sunlight exposure.Tips for SuccessSeed Selection: Plant several seeds at once, as not all will germinate successfully.Patience: Lemon trees grown from seed can take 5-15 years to bear fruit, and the fruit may not resemble the parent lemon due to cross-pollination. Treat this as a fun experiment rather than a guaranteed fruit harvest!
Pest Control: Watch for tiny pests like aphids. Wipe leaves with a damp cloth or use a mild soap solution if needed.Winter Care: If you live in a cold climate, bring the plant indoors during winter and place it near a sunny window or under a grow light.
Troubleshooting Common IssuesIf your seeds fail to germinate, check that they were fresh and properly prepared. Mold can be an issue if the seeds were not cleaned thoroughly or if the soil is too wet. Ensure good air circulation and avoid overwatering. If the seedlings appear leggy, they may need more light. Adjust their location or supplement with artificial lighting to encourage healthy growth.Health Benefits of Growing a Lemon Plant IndoorsLemon plants are not only beautiful but also beneficial to your health. They can improve air quality by increasing humidity and producing oxygen. The scent of lemon is known to boost mood, reduce stress, and enhance focus. Additionally, having plants indoors can create a calming environment, contributing to overall well-being.
How a Lemon Plant Freshens Your HomeAs lemon plants grow, they emit a natural citrus fragrance that can freshen up your home. This scent is particularly effective at neutralizing odors, making it a great natural alternative to chemical air fresheners. The fresh aroma of lemon can invigorate your senses and create a welcoming atmosphere in any room.Conclusion: Enjoying Your Fresh and Fragrant HomeBy following these steps, you can successfully grow a lemon plant in a cup and enjoy the fresh, citrusy scent it brings to your home. This simple gardening project not only enhances your living space but also provides numerous health benefits. Embrace the joy of nurturing a plant and let the natural fragrance of lemon brighten your home and your day.
