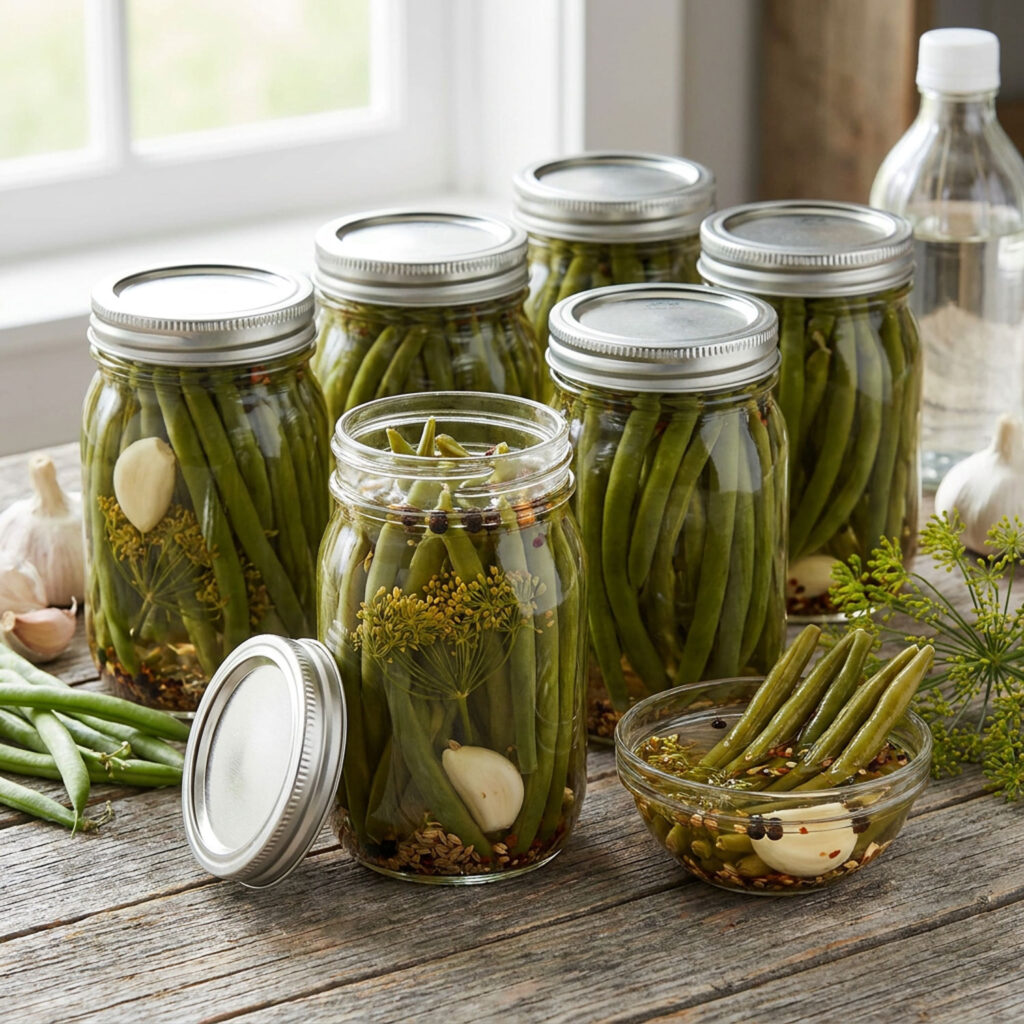
Dilly Beans (Pickled Green Beans)
If you’re looking for a crisp, tangy snack that’s packed with flavor, Dilly Beans are a must-try! These pickled green beans are preserved in a zesty vinegar brine with fresh dill, garlic, and spices. They’re delicious straight from the jar, served on a charcuterie board, or added to salads and sandwiches.
This recipe uses a properly acidified brine and water bath canning to create shelf-stable jars when prepared as directed.
Prep Time: 30 minutes
Processing Time: 10 minutes (adjust for altitude if needed)
Total Time: About 1 hour
Yield: 4 pint jars
Ingredients
- 2 pounds fresh green beans, washed and trimmed
- 4 cups white vinegar (5% acidity)
- 4 cups water
- ¼ cup pickling or canning salt
For Each Pint Jar
- 1 clove garlic, peeled
- 1–2 fresh dill sprigs (or 1 teaspoon dill seeds)
- ½ teaspoon mustard seeds
- ¼ teaspoon black peppercorns
- ¼ teaspoon crushed red pepper flakes (optional, for a little heat)
Equipment
- Water bath canner
- 4 pint canning jars
- New canning lids and bands
- Canning funnel
- Jar lifter
- Bubble remover or plastic utensil
Instructions
Step 1: Prepare the Green Beans
Wash the green beans thoroughly.
Trim the stem ends so the beans fit upright inside the jars, leaving about ½ inch of headspace.
Step 2: Prepare the Jars
Wash the jars, lids, and bands with hot, soapy water.
Keep the jars hot until you’re ready to fill them.
Step 3: Make the Brine
In a large saucepan, combine:
- White vinegar
- Water
- Pickling salt
Bring the mixture to a boil, stirring until the salt completely dissolves.
Step 4: Fill the Jars
Place into each hot pint jar:
- 1 garlic clove
- Dill sprigs or dill seed
- Mustard seeds
- Black peppercorns
- Red pepper flakes (if using)
Pack the green beans vertically into the jars as tightly as possible.
Pour the hot brine over the beans, leaving ½ inch of headspace.
Remove any trapped air bubbles and adjust the headspace if needed.
Wipe the rims with a clean, damp cloth.
Place the lids on the jars and tighten the bands until fingertip-tight.
Step 5: Process in a Water Bath
Place the jars into a boiling water bath canner, making sure they are covered by at least 1 inch of water.
Once the water returns to a full boil, process the jars for 10 minutes. If you live at a higher altitude, increase the processing time according to current home canning recommendations.
Step 6: Cool
Carefully remove the jars using a jar lifter.
Place them on a towel or cooling rack and let them cool undisturbed for 12–24 hours.
After cooling, check that each lid has sealed properly. The center of the lid should not flex when pressed.
Storage
Store sealed jars in a cool, dark place for up to 1 year for the best quality.
Once opened, refrigerate and enjoy within 2–4 weeks.
Tips for the Best Dilly Beans
- Choose young, fresh green beans for the best crunch.
- Pack the beans tightly to help them stay upright.
- Always use vinegar labeled 5% acidity for safe water bath canning.
- Do not reduce the amount of vinegar or increase the amount of water, as this can affect the safety of the recipe.
- For the best flavor, let the jars sit for 2–3 weeks before opening.
Delicious Ways to Enjoy Dilly Beans
- Straight from the jar as a snack
- On charcuterie boards
- Alongside burgers and sandwiches
- Chopped into potato salad or pasta salad
- As a garnish for Bloody Marys
- Served with grilled meats
- Added to antipasto platters
Flavor Variations
Try adding one of these to each jar:
- Lemon slices
- Fresh thyme
- Coriander seeds
- Bay leaf
- Jalapeño slices
- Extra garlic cloves
- Whole cloves
Final Thoughts
Homemade Dilly Beans are a crunchy, flavorful way to preserve fresh green beans and enjoy them long after the growing season ends. With their tangy dill-infused brine and crisp texture, they’re perfect as a snack, appetizer, or side dish.
Once you taste these homemade pickled green beans, you’ll want to keep a few jars stocked in your pantry all year long! 🌿🫙🥒
