Peace lilies are beloved houseplants known for their striking green leaves and elegant white blooms. However, during the winter months, your peace lily may start to show signs of stress due to the indoor heating systems that dry out the air. As these plants are native to tropical regions, they thrive in environments with high humidity and consistent moisture. When winter heat dries the air, it can lead to a range of issues for your lily, from drooping leaves to brown tips.
Understanding how to address these issues is key to maintaining a healthy peace lily throughout the colder months. By making a few adjustments to your plant care routine and environment, you can help your peace lily regain its vibrancy and health. In this article, we will explore various strategies to perk up a sad peace lily affected by winter heat.
1. Spot the Signs Your Peace Lily Is Stressed by Winter Heat
The first step in reviving your peace lily is recognizing the signs of stress. Look for drooping leaves, which are often the most obvious indicator that your plant is not happy. The leaves may also develop brown tips or edges due to the dry air and lack of humidity. If your peace lily’s leaves are turning yellow, it could be a sign of overwatering, which is another common issue when adjusting to winter conditions.
Additionally, if the flowers of your peace lily are wilting prematurely, this can indicate that the plant is not receiving enough moisture or that the air is too dry. By observing these signs early, you can take action to alleviate the stress on your peace lily and restore its health.
2. Check the Soil: Too Dry, Too Wet, or Just Compacted?
The state of the soil is crucial in determining how well your peace lily can cope with winter conditions. Check the soil moisture by sticking your finger about an inch into the soil. If it feels dry, it’s time to water your plant. However, if the soil feels soggy or waterlogged, you may be overwatering, which can lead to root rot.
Compacted soil can also be a problem, as it restricts airflow to the roots. Gently loosen the top layer of soil with a fork or similar tool to improve aeration. Ensuring that your peace lily is planted in well-draining soil will help maintain the right balance of moisture.
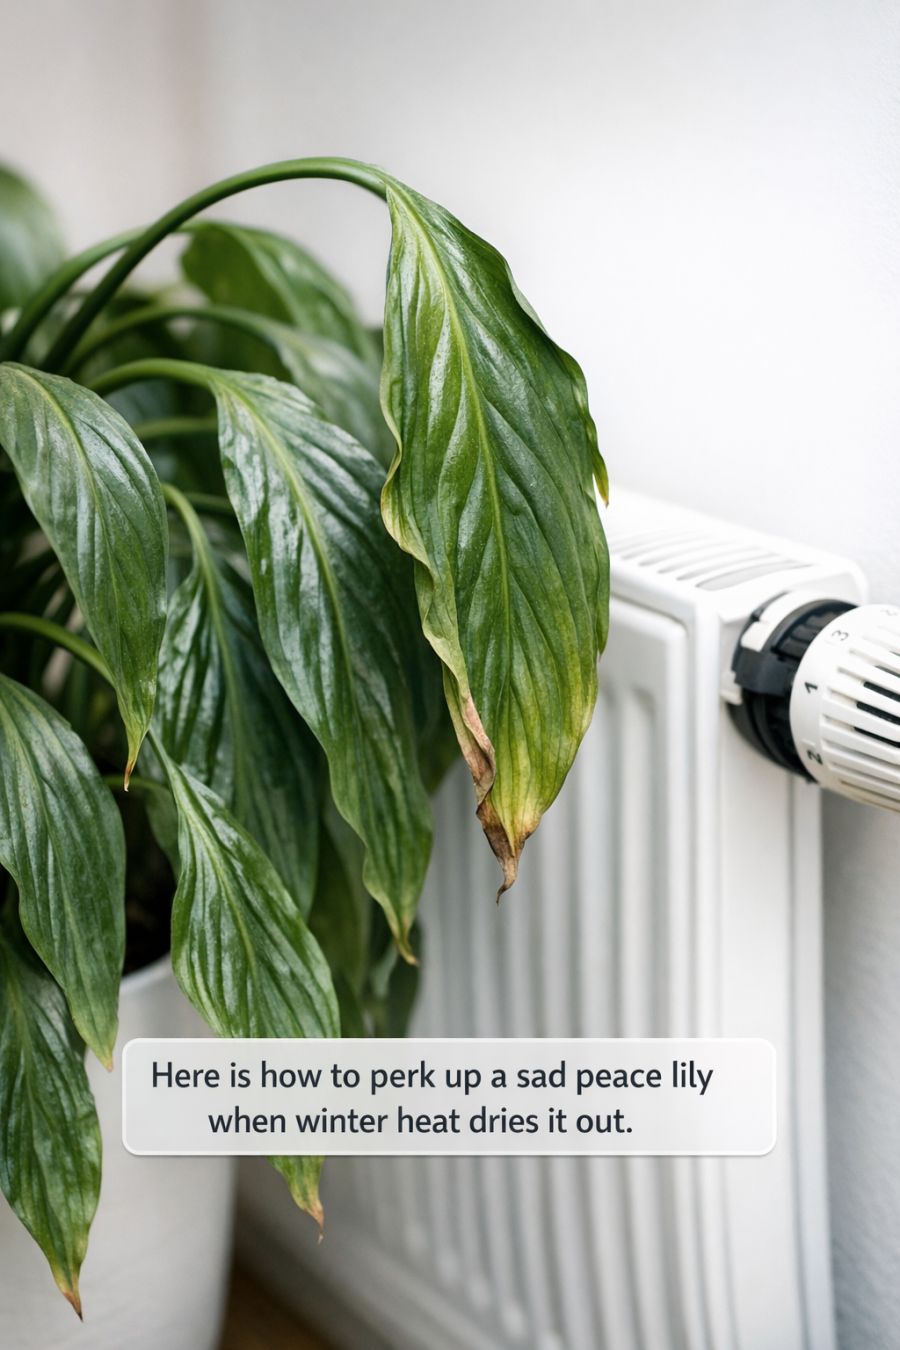
3. Move It Away From Radiators, Vents, and Drafty Windows
Peace lilies are sensitive to temperature fluctuations and should be kept away from radiators, vents, and drafty windows. These areas can cause the air around your plant to become too dry, leading to stress. Ideally, place your peace lily in a location where it can enjoy stable temperatures between 65°F and 80°F (18°C to 27°C).
If possible, use a room thermometer to monitor the temperature in different areas of your home to find a suitable spot for your peace lily. By avoiding these sources of dry air, you can create a more favorable environment for your plant.
4. Boost Humidity With Simple Home Hacks
Increasing the humidity around your peace lily can significantly improve its health during the winter months. One simple way to boost humidity is by grouping your peace lily with other plants. Plants naturally release moisture into the air, and when placed together, they can create a more humid microclimate.
Another effective method is to place a shallow tray of water near your plant. As the water evaporates, it will increase the humidity in the surrounding air. Be sure to refill the tray as needed to maintain consistent humidity levels.
5. Try the Viral Pebble-Tray and Humidifier Combo
The pebble-tray method is a popular way to increase humidity around your peace lily. To create a pebble tray, fill a shallow tray with pebbles and add water until it reaches just below the tops of the pebbles. Place your peace lily pot on top of the pebbles, ensuring the bottom of the pot is not in direct contact with the water.
For an added boost, consider using a humidifier in the room where your peace lily is located. A humidifier can help maintain consistent humidity levels, which is particularly beneficial during the dry winter months.
6. Master the Winter Watering Schedule
Watering your peace lily during the winter requires a bit more attention than during the warmer months. The key is to avoid overwatering while ensuring that the plant does not dry out. Water your peace lily when the top inch of soil feels dry to the touch.
During winter, you may need to adjust your watering schedule and reduce the amount of water you give your plant. Make sure to use room-temperature water to avoid shocking the plant’s roots with cold water.
7. Give the Leaves a Spa Day: Wipe, Mist, and Trim
Your peace lily’s leaves can benefit from regular cleaning to remove dust and improve their ability to photosynthesize. Use a damp cloth to gently wipe down each leaf. This not only keeps the leaves clean but also provides a bit of moisture.
Mist the leaves with water occasionally to help increase humidity. If you notice any leaves that are severely damaged or dying, trim them away to encourage new growth and maintain the plant’s overall health.
8. Refresh the Potting Mix Without Full Repot Shock
If your peace lily’s soil is compacted or depleted of nutrients, consider refreshing the top layer of potting mix. Carefully remove the top inch of soil and replace it with fresh potting mix. This can provide your plant with a nutrient boost without the stress of a full repotting.
Avoid repotting your peace lily during the winter unless absolutely necessary, as the plant is less active and may take longer to adjust to a new pot.
9. Feed Lightly or Pause Fertilizer for the Cold Season
During the winter, your peace lily’s growth slows down, and it does not require as much fertilizer as during the growing season. Consider pausing fertilization altogether, or if you notice the plant needs a boost, feed it lightly with a diluted houseplant fertilizer.
If you choose to fertilize, do so sparingly and only once a month, using a half-strength solution to avoid overfeeding and potential nutrient burn.
10. Use Grow Lights and Better Placement to Beat Dark Days
Shorter daylight hours can affect your peace lily’s ability to photosynthesize. If you notice your plant is not getting enough light, consider using grow lights to supplement natural sunlight. Place the grow lights about 12 inches above the plant and keep them on for 12-14 hours a day.
Additionally, try to place your peace lily in a spot that receives bright, indirect light. Avoid direct sunlight, as it can scorch the leaves. A north or east-facing window is often ideal for peace lilies.
11. Rescue a Severely Wilted Peace Lily With a Soak-and-Revive Bath
If your peace lily is severely wilted, a soak-and-revive bath can help restore its vitality. Fill a sink or basin with lukewarm water and submerge the pot up to the soil level for about 20-30 minutes. This allows the roots to absorb water directly and rehydrate the plant.
After the soak, allow the pot to drain thoroughly before returning it to its usual spot. This method can provide a quick boost of moisture to help revive a wilting peace lily.
12. Prevent Future Winter Stress With a Simple Care Routine
To prevent future stress on your peace lily during the winter, establish a consistent care routine that addresses its specific needs. Monitor the humidity and temperature levels in your home and make adjustments as needed. Regularly check the soil moisture and adjust your watering schedule accordingly.
By staying proactive and attentive to your peace lily’s needs, you can ensure it remains healthy and vibrant throughout the winter and beyond. With the right care, your peace lily will thrive and bring a touch of tropical beauty to your indoor space year-round.
