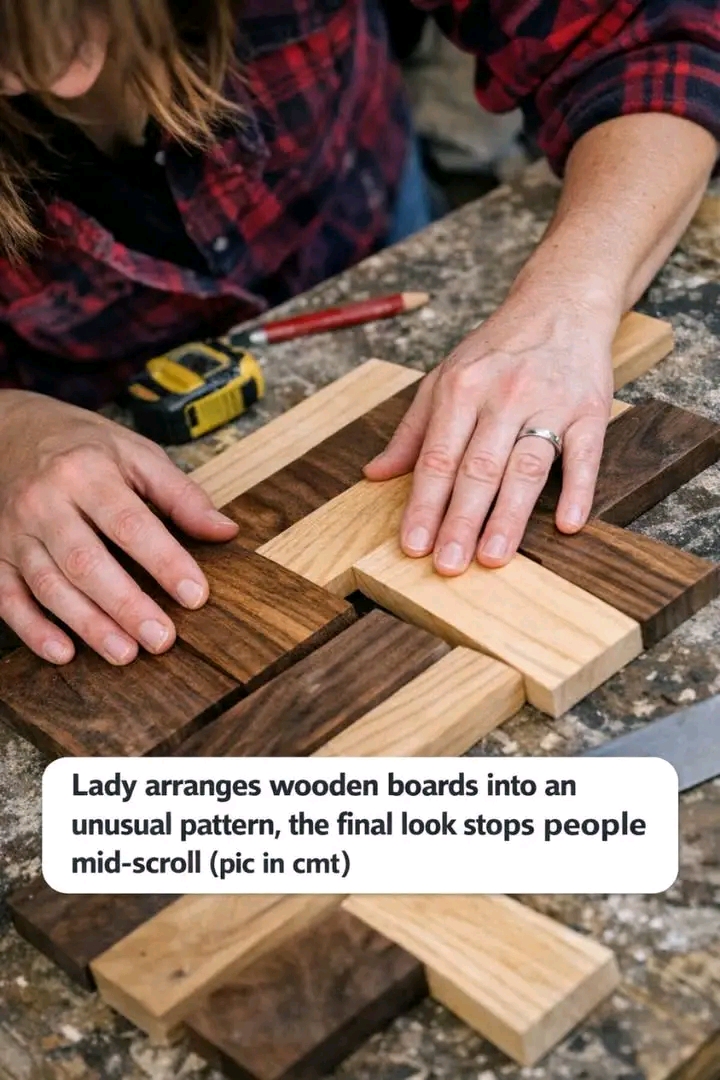
Transforming a blank wall into a striking focal point can elevate the ambiance of any room. DIY plank wall art is a creative home improvement project that combines the rustic charm of wood with the sophistication of modern art. This project not only enhances the aesthetic appeal of your space but also allows for personalization and creativity in your decor.This DIY plank wall art is perfect for living rooms, bedrooms, or even an office space, where you want to introduce a unique artistic element. The natural wood tones add warmth and texture, while the geometric patterns can complement both modern and traditional interior design styles. Pair it with minimalist furniture to let the wall art stand out, or use it as a backdrop for vibrant decor pieces.
Geometric Wooden Plank Wall Art
Materials
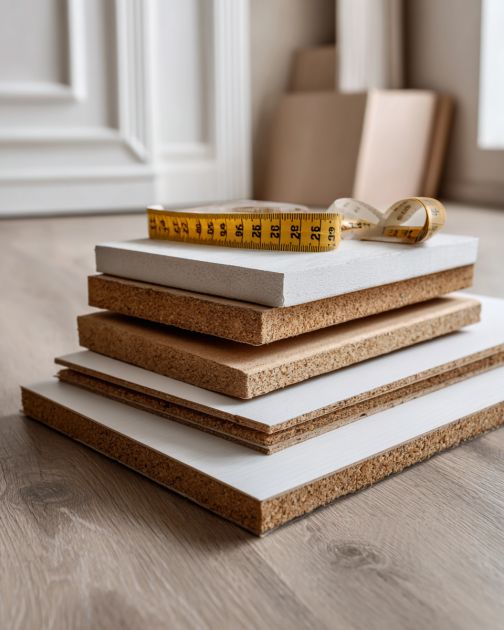
Wooden boards (assorted sizes, e.g., 1×4 inches, 1×6 inches)Wood stain or paint (variety of colors as desired)Sandpaper (medium and fine grit)Wood glueSaw (hand saw or electric saw)Measuring tapePencilPainter’s tapeLevelPaintbrushesProtective glovesWall mounting hardware (e.g., D-ring hangers and screws)DirectionsMeasure the wall space where you want to place the art. Decide on the dimensions of your plank art piece.Plan your pattern. Sketch it out on paper first, considering different geometric designs such as herringbone, chevron, or a more abstract layout.Cut the wooden boards into various lengths as needed to fit your design using a saw. Ensure all cuts are straight and precise.Sand each piece of wood to smooth out any rough edges. Start with medium grit sandpaper and finish with fine grit for a polished look.Stain or paint the wooden pieces in your chosen colors. Allow them to dry completely.Arrange the wooden pieces on a flat surface according to your planned pattern. Use painter’s tape to hold them in place temporarily.Once satisfied with the arrangement, start gluing the pieces together. Apply wood glue to the edges and press them firmly together.Allow the glued pieces to dry completely. Make sure the structure is stable before handling.Attach the wall mounting hardware to the back of the plank art. Use a level to ensure the hardware is aligned correctly.Mount the finished piece on the wall using screws. Double-check with a level to ensure it is straight.
