Hooded eyes have their own unique charm, but they often present challenges when it comes to makeup application. Those with hooded eyes know that traditional makeup techniques can sometimes fall flat, literally. The upper eyelid droops over the crease, which can overshadow the beautiful work of art you created with your eyeshadow and liner.But fear not! My aunt, a makeup enthusiast with years of experience, shared a simple yet revolutionary hack that makes hooded eyes appear larger and more defined in just three minutes. This trick requires zero work, and the results are nothing short of astonishing. Let me introduce you to this amazing technique.1. The 3-Minute Hooded-Eye Hack My Aunt Swears ByThis hack is all about strategic placement and minimal effort. The key is to utilize a light-colored eyeshadow or highlighter and place it right under the brow bone and the inner corners of the eyes. This creates an illusion of more space, making the eyes appear larger and more awake. Use a brush or your fingertip to apply a small amount of product, about the size of a rice grain, and gently blend it in. The entire process takes under three minutes and can be done as the last step of your makeup routine for a quick enhancement.2. Why Hooded Eyes Make Traditional Eye Makeup So FrustratingHooded eyes have a fold of skin that hangs over the crease, which can make eyeshadow and eyeliner disappear when the eyes are open. This unique shape can cause makeup to smudge or transfer easily, especially if the products are not long-wearing. Traditional makeup methods often rely on visible creases and lids, which become challenging to work with for hooded eyes, leading to frustration when the desired look is not achieved.Moreover, the lack of visible lid space can limit the use of colors and techniques that rely on open lids to show off gradients and designs. This is why many people with hooded eyes seek out specific tips and tricks tailored to their eye shape.3. The Only Product You Need (And Why Formula Matters More Than Brand)The beauty of this hack lies in its simplicity. All you need is a light, shimmery eyeshadow or highlighter. While brand names might be tempting, the formula is what truly matters. Opt for a product that has a finely milled texture and a subtle sheen rather than chunky glitter. This ensures a smooth application and a natural look.Cream formulas can work beautifully as they adhere well to the skin and have long-lasting power, but if you prefer powders, ensure they are finely milled for a seamless blend. A good rule of thumb is to test the product on the back of your hand to see how it catches the light before applying it to your eyes.4. The Exact 30-Second Prep That Makes This Work With Zero EffortTo make this hack work seamlessly, start with a clean, moisturized eyelid. A quick swipe of eye primer can help the eyeshadow adhere better and last longer. If you don’t have a primer, a little bit of your regular face moisturizer or foundation can work as a base.Apply this base lightly, using your fingertip to gently pat it in. This step should take no more than 30 seconds and ensures that your eye makeup stays put without creasing or fading throughout the day.5. The One-Swipe Placement Trick That Instantly Lifts the LidThe magic of this hack lies in its placement. Using a fluffy brush or your fingertip, apply the light eyeshadow or highlighter in a single swipe right under your brow arch. Focus on the highest point of your brow bone to create a lifting effect.Additionally, dab a small amount on the inner corners of your eyes. This not only brightens the area but also creates an illusion of wider, more open eyes. The key is to blend just enough to diffuse harsh lines without losing the concentrated highlight.6. The Tiny Angle Change That Makes Eyes Look Bigger on CameraA subtle tilt of the head can make a significant difference when trying to enhance your eyes on camera. When taking photos, slightly tilt your chin down while looking up towards the camera. This angle accentuates the lifted effect created by the highlighter, making the eyes appear larger and more open.Practicing this pose in the mirror can help you find the perfect angle that highlights your features. Remember, it’s about creating depth and dimension, so play around with different tilts until you find what works best for you.7. How to Use Light and Shadow to Fake a Higher CreaseCreating a faux crease is all about the play of light and shadow. After applying your highlighter, use a medium-toned matte eyeshadow slightly above your natural crease. This creates the illusion of a higher crease and more lid space.Using a soft, fluffy brush, blend the shadow in a windshield wiper motion, focusing on the outer third of the lid. Start with a light hand to gradually build up the color, which helps in achieving a natural look. This trick enhances the depth of your eyes and complements the brightened areas created by the highlighter.8. The No-Blend Rule: Why Less Smudging Equals Bigger-Looking EyesWhile blending is key in most makeup techniques, this hack benefits from a no-blend rule to maintain the integrity of the highlight. The idea is to keep the highlighter concentrated in specific areas to maximize its lifting effect.Over-blending can diffuse the highlight too much, making it less effective. Instead, focus on applying the product with precision and only blend the edges lightly to soften any harsh lines. This approach ensures that the highlighted areas remain vivid and impactful, contributing to the appearance of bigger eyes.9. A Lazy-Girl Shortcut for Matching Both Eyes in Under a MinuteAdvertisementSymmetry can be challenging, but this shortcut makes matching both eyes simple and quick. Start by applying the highlighter to your dominant eye first, as this is usually easier to control.Then, use the same brush or fingertip without picking up more product to apply to the other eye. This ensures that you use the same amount of product on both sides, making it easier to achieve a balanced look. If needed, you can always go back and add a bit more to either side, but this method minimizes the need for corrections.10. Quick Fixes If You Mess Up (Without Starting Over)Mistakes happen, but they don’t have to mean starting from scratch. If you’ve applied too much product or placed it incorrectly, a clean cotton swab or a dab of makeup remover on a brush can help you correct it.AdvertisementGently swipe the swab or brush over the area you want to fix, and then reapply the product as needed. This allows for precise corrections without disturbing the rest of your makeup. Remember, makeup is flexible, and there’s always room for adjustments and experimentation.11. How to Make the 3-Minute Hack Last All Day Without Extra WorkTo ensure your newly brightened eyes last all day, setting the makeup is crucial. A light dusting of translucent powder over the highlighted areas can help lock in the product and prevent it from slipping or fading.For extra longevity, consider a setting spray. Hold the spray about 12 inches from your face and mist lightly. This not only sets the makeup but also gives a natural finish, ensuring your eyes stay vibrant from morning to night.
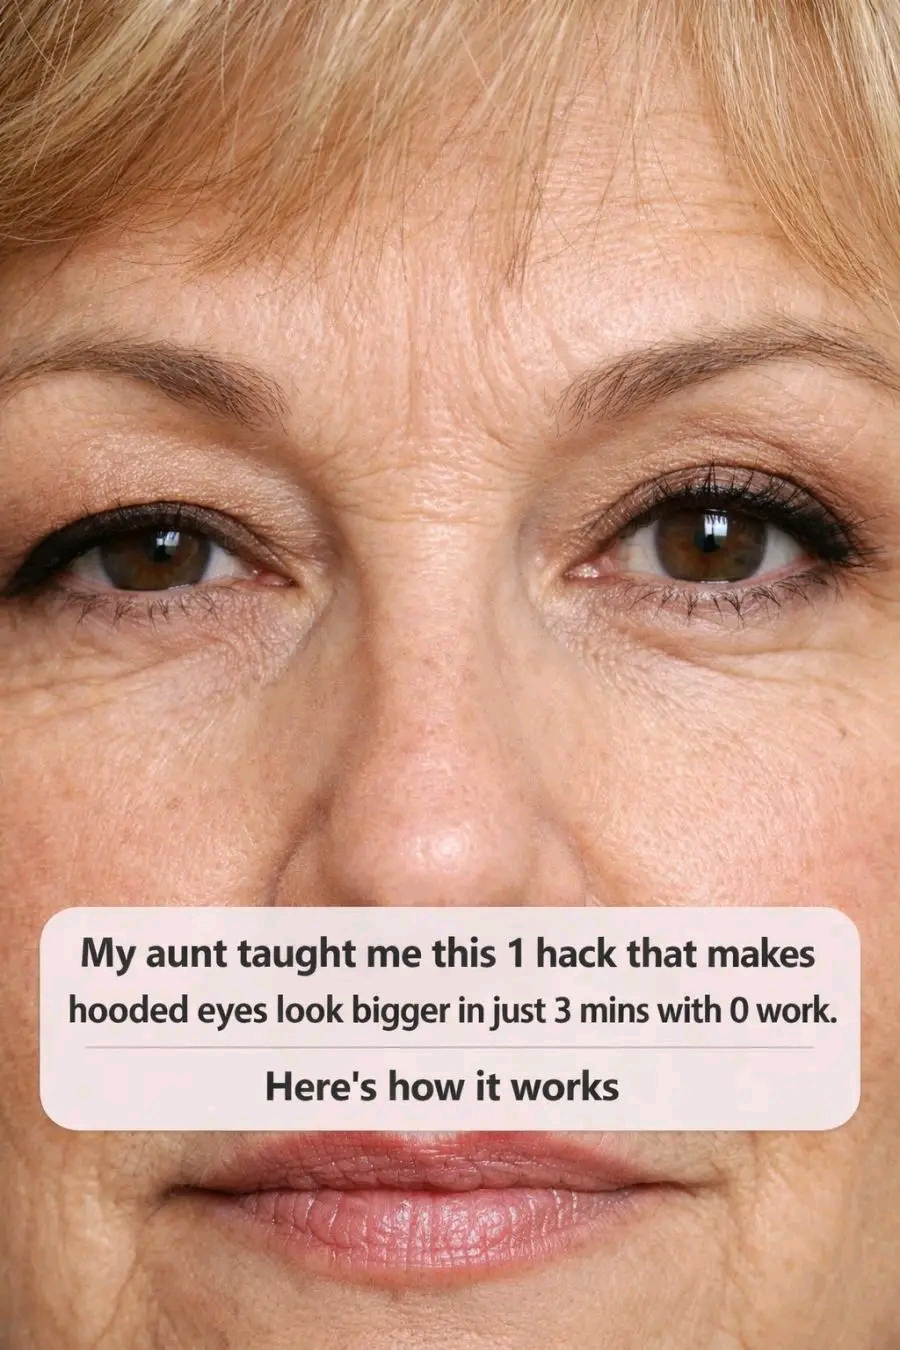
My aunt taught me this 1 hack that makes hooded eyes look bigger in just 3 mins with 0 work. Here’s how it works
ADVERTISEMENT
