A washing machine that refuses to drain can quickly turn a laundry day into a waterlogged disaster. While it might seem like an immediate call to a technician is necessary, there are several troubleshooting steps you can take to potentially solve the problem yourself. Not only could this save you a hefty service fee, but it might also get your washer back up and running faster than waiting for a professional to arrive.
In this article, we’ll walk you through a series of practical steps to diagnose and possibly fix the issue causing your washer to not drain. From simple checks like ensuring the door is properly closed, to more involved tasks like inspecting the drain pump, these tips will guide you in tackling the problem head-on.
1. Kill the Power and Contain the Leak First
Before diving into troubleshooting, safety should be your top priority. Immediately unplug the washer from the electrical outlet to prevent any risk of electric shock. If the outlet is difficult to reach, switch off the circuit breaker that powers the washer. Next, address the water on the floor. Use towels or a mop to soak up the water and prevent slips or further damage to your flooring. If the washer is still full of water, consider using a bucket to manually remove as much as you can before proceeding.
2. Check the Washer Door or Lid for Proper Latching
A washer that doesn’t drain might simply be due to a door or lid that isn’t properly closed. Most modern washers will not start or continue a cycle if the door or lid is not securely latched. Check if there’s any laundry obstructing the door, and try closing it firmly. Listen for the click or latch sound to ensure it’s fully engaged. If the latch seems faulty, it might need adjustment or replacement.
3. Run a Spin and Drain Cycle to Clear a One-Off Glitch
Sometimes, the issue might be a temporary glitch. Try selecting a separate ‘Spin and Drain’ cycle on your washer. This cycle is specifically designed to remove excess water from the drum. If the washer drains properly during this cycle, it might have been a minor software hiccup. If the problem persists, further investigation is needed.
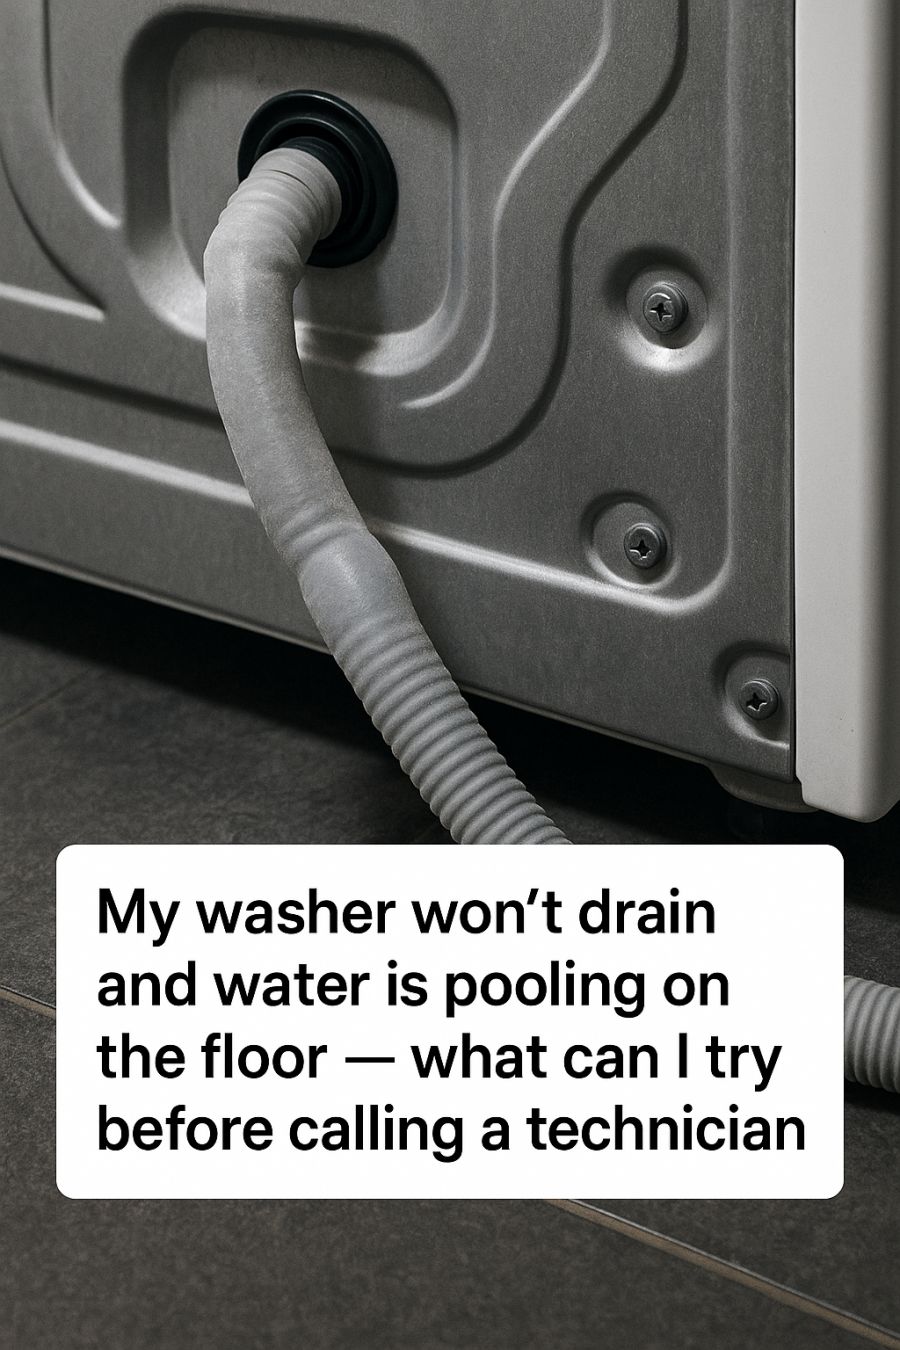
4. Inspect the Drain Hose for Kinks, Clogs, and Hidden Socks
The drain hose is crucial for expelling water from your washer. First, ensure the hose is not kinked or pinched, as this can prevent water flow. Next, detach the hose from the back of the washer and check for any visible blockages. You might be surprised to find small clothing items like socks trapped inside. Run water through the hose to ensure it’s clear, and reattach it securely to the washer.
5. Deal With a Frozen Drain Hose in Cold Weather
If you live in an area with cold winters, a frozen drain hose might be the culprit. Check if the hose feels unusually stiff or cold. To thaw it, you can use a space heater or hairdryer on a low setting. Make sure to keep the hose warm and insulated in the future to prevent refreezing. If your washer is in an unheated area, consider relocating it or adding insulation around the hose.
6. Clean the Pump Filter Trap (The Gross but Viral Hack)
Many front-load washers have a pump filter trap that can become clogged with lint, coins, and other debris. To access it, locate the trap door at the bottom of the washer front panel. Place a towel or shallow pan underneath to catch any water. Unscrew the trap and remove any debris inside. Cleaning this regularly can prevent drainage issues and improve washer efficiency.
7. Listen for a Stuck or Failed Drain Pump
If the drain pump is malfunctioning, the washer won’t be able to expel water. Listen closely during the spin cycle for the sound of the pump. A humming or grinding noise could indicate a blockage or a failing pump. If accessible, inspect the pump for obstructions. If the pump is faulty, it might need replacement, which is a more complex repair.
8. Make Sure the Drain Hose Height and Standpipe Are Correct
The height of the drain hose and standpipe is critical for proper drainage. Ideally, the standpipe should be between 24 to 40 inches from the floor. If it’s too low or too high, siphoning or backflow can occur. Adjust the hose height according to the manufacturer’s specifications to ensure efficient draining.
9. Check for Clogs in the Home Drain or Utility Sink
If water is backing up into a utility sink or the home drain, the issue might not be with the washer itself. Use a plumbing snake or a chemical drain cleaner to clear any blockages in the drainpipe. Ensure the utility sink is free of clogs and capable of handling the washer’s water output.
10. Look for Over-Sudsing From Too Much or Wrong Detergent
Using too much detergent or the wrong type can lead to excessive suds, which can interfere with draining. Ensure you’re using high-efficiency (HE) detergent if your washer requires it, and follow the recommended usage amounts. Run an extra rinse cycle to clear excess suds if necessary.
11. Reset the Washer’s Control Board and Check Error Codes
Sometimes, resetting the washer’s control board can resolve drainage issues. Unplug the washer for a few minutes, then plug it back in. Additionally, check the display for any error codes, which can guide you to specific problems. Refer to the user manual to decode any displayed error messages.
12. When DIY Fixes Aren’t Enough and It’s Time to Call a Pro
If you’ve exhausted these troubleshooting steps and your washer still won’t drain, it may be time to call in a professional. Persistent issues could indicate more serious problems like a faulty control board or internal wiring issues. A certified technician has the expertise and tools to diagnose and fix complex problems, ensuring your washer is back to optimal performance.
