Experiencing an icy portion of your living room can be frustrating, especially when you’ve already dialed up the thermostat and are still left shivering. The good news is that this problem is not uncommon and often can be resolved with a bit of troubleshooting on your part. Before you resign yourself to months of chilly discomfort waiting for an HVAC professional, consider taking some practical steps that might reveal the source of the cold and possibly fix it.
Understanding the dynamics of airflow, heating systems, and insulation can empower you to make some immediate improvements. This article will guide you through a series of checks and adjustments you can perform yourself. From simple tasks like inspecting vents to more involved steps such as examining ductwork, these actions can help you regain control over your indoor climate and improve your overall comfort.
1. Start With the Obvious: Are Your Vents Blocked or Closed?
Begin your troubleshooting by ensuring all your vents are open and unobstructed. Even partially closed vents can significantly impede airflow, leading to cold spots in your living room. Check each vent’s position and make sure they’re fully open. Use a ruler to measure the vent slats; they should be parallel and open with at least a 90-degree angle.
Additionally, ensure that no furniture or large objects are placed directly in front of or over the vents. A minimum clearance of 6-12 inches from the vent is recommended to allow proper airflow. If your vents are adjustable, experiment with directing the airflow toward the area that feels colder.
2. Check for Furniture, Rugs, and Decor Choking Airflow
Furniture arrangements can inadvertently block airflow from heating vents, leading to uneven room temperatures. Assess the layout of your living room and identify any potential obstructions. Large couches, bookshelves, or even decorative items placed too close to vents can disrupt the flow of warm air.
Consider rearranging your furniture to create a clear path for air to circulate freely. If you have rugs covering floor vents, ensure they have adequate openings or consider repositioning them. Maintaining a clear and unobstructed path for airflow can significantly enhance the efficiency of your heating system.
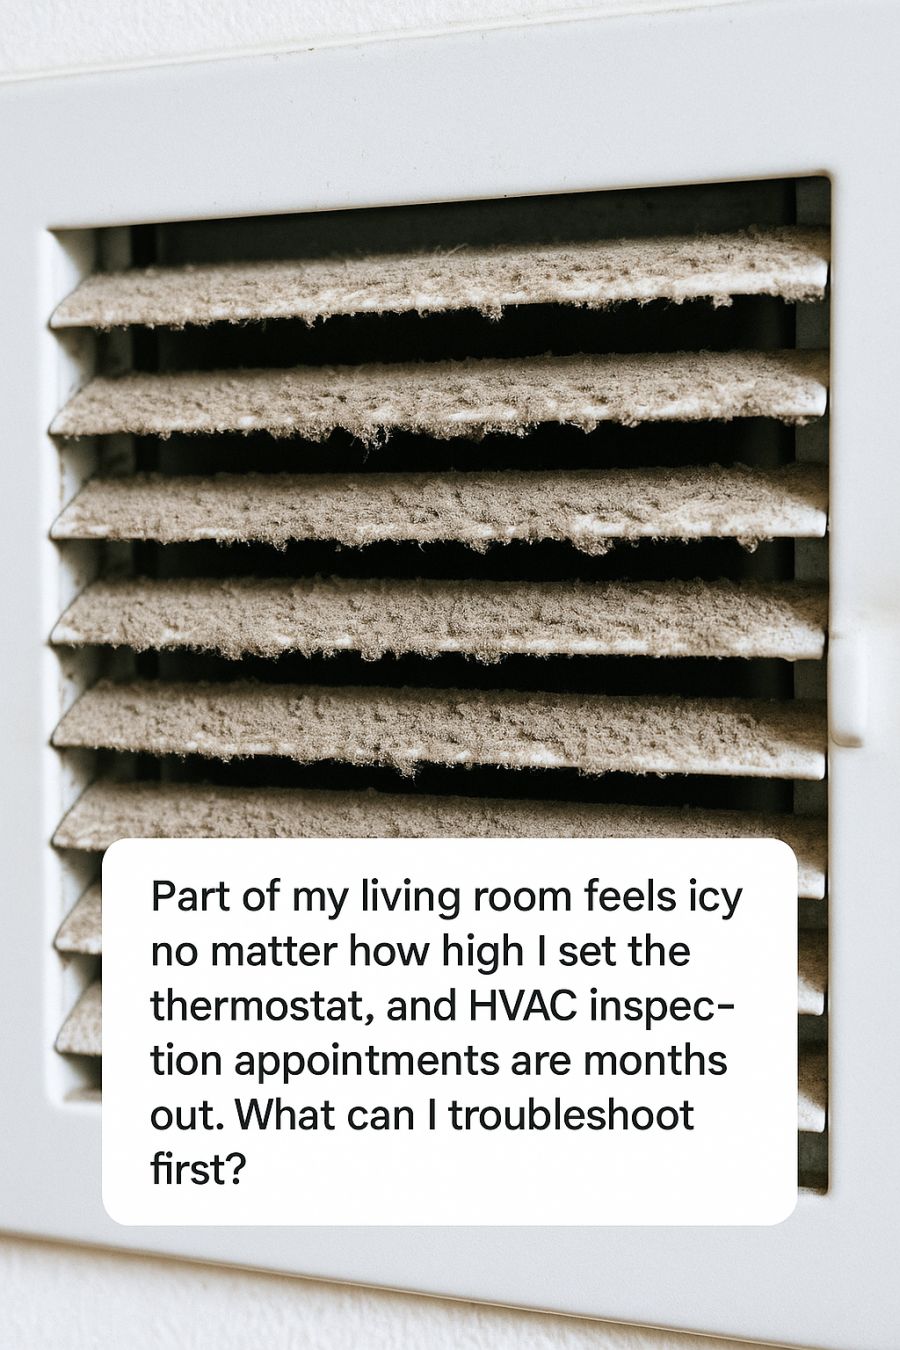
3. Make Sure Return Air Vents Aren’t Covered or Dirty
Return air vents play a crucial role in your HVAC system by pulling air back into the system for heating and redistribution. If these vents are blocked or clogged with dust, they can hinder the system’s effectiveness. Check each return vent in your living room to ensure they are uncovered and clean.
To clean the vents, use a vacuum cleaner with a hose attachment to remove dust and debris. If the vent covers are particularly dirty, remove them and wash them with warm soapy water before reinstalling. Keeping return vents clean and clear can improve airflow and help maintain a consistent temperature throughout your living space.
4. Do a Simple Filter Check Before Blaming the Furnace
A dirty or clogged furnace filter can restrict airflow, making it difficult for your heating system to distribute warm air effectively. Before assuming there’s a more significant issue, check the filter. Most filters are located in the return air duct or near the furnace unit itself.
Remove the filter and inspect it for dust and debris. If the filter appears dirty or hasn’t been changed in the last three months, replace it with a new one. Use the correct size and type recommended for your system. A clean filter can improve airflow and heating efficiency, potentially resolving your cold spot issue.
5. Use the Paper Test to Spot Weak Airflow From Supply Vents
To identify weak airflow from supply vents, try the simple paper test. Hold a piece of paper, such as a tissue or a lightweight sheet, in front of each vent while the system is running. If the paper fails to flutter or move significantly, it indicates weak airflow.
Weak airflow can be due to several factors, including duct obstructions, closed dampers, or a malfunctioning blower fan in the furnace. By identifying which vents have weak airflow, you can narrow down potential problem areas and take further action, such as checking for duct blockages or consulting a professional if necessary.
6. Compare Room Temperatures With a Cheap Thermometer
A digital thermometer can be a useful tool in identifying uneven heating in your living room. Place the thermometer in different areas of the room, especially the sections that feel cold, and compare the readings to see if there’s a temperature variance.
Significant differences in temperature can indicate poor insulation or airflow issues in specific areas. If you find a consistent cold spot, consider additional measures like sealing drafts or improving insulation in that area. This simple test can provide valuable insights into the root cause of the problem.
7. Look for Drafts Around Windows, Doors, and Baseboards
Drafts are a common culprit for cold spots, as they allow cold air to seep in and warm air to escape. Inspect your windows, doors, and baseboards for any gaps or cracks that might be letting in cold air.
Use weatherstripping, caulk, or foam sealant to seal these gaps. For windows, consider using thermal curtains or plastic window insulation kits during the colder months. Addressing drafts can make a noticeable difference in the overall comfort of your living room.
8. Inspect Ductwork You Can See for Disconnections or Crushed Sections
If possible, inspect any accessible ductwork for signs of disconnections or damage. Pay particular attention to areas in basements, attics, or crawl spaces where ducts might be exposed.
Look for sections that have become disconnected or crushed, as these can severely impact airflow. Reconnect any loose sections and use duct tape or clamps to secure them. For crushed sections, consider replacing them or consulting a professional for repair options.
9. Try Easy DIY Balancing: Adjusting Dampers and Registers
Balancing the airflow in your home can help eliminate cold spots. Many HVAC systems have dampers installed in the ductwork that can be adjusted to control airflow to different areas.
Locate the dampers, which are usually in the basement or attic, and adjust them to direct more airflow to the colder part of your living room. Additionally, adjust the registers on the vents to increase airflow to that area. This DIY balancing act can often make a significant difference in room temperature.
10. Use Fans and Smart Airflow Tricks to Mix Warm and Cold Air
Ceiling fans can be an effective tool in redistributing warm air throughout your living room. Set your ceiling fan to rotate clockwise at a low speed during the winter months to gently push warm air downward.
Additionally, consider using portable fans strategically placed to direct warm air from heated areas to colder ones. These simple tricks can help mix the air more evenly, reducing cold spots and improving overall comfort.
11. When to Stop Troubleshooting and Wait for the HVAC Pro
While many issues can be resolved with DIY efforts, some problems require professional attention. If you’ve exhausted all troubleshooting steps and still experience significant comfort issues, it may be time to wait for an HVAC professional.
Issues like significant ductwork damage, complex system imbalances, or malfunctioning equipment are best left to experts. Continuing to troubleshoot without success can lead to frustration and potential damage to your system. Prioritize your comfort and safety by knowing when to call in the pros.
