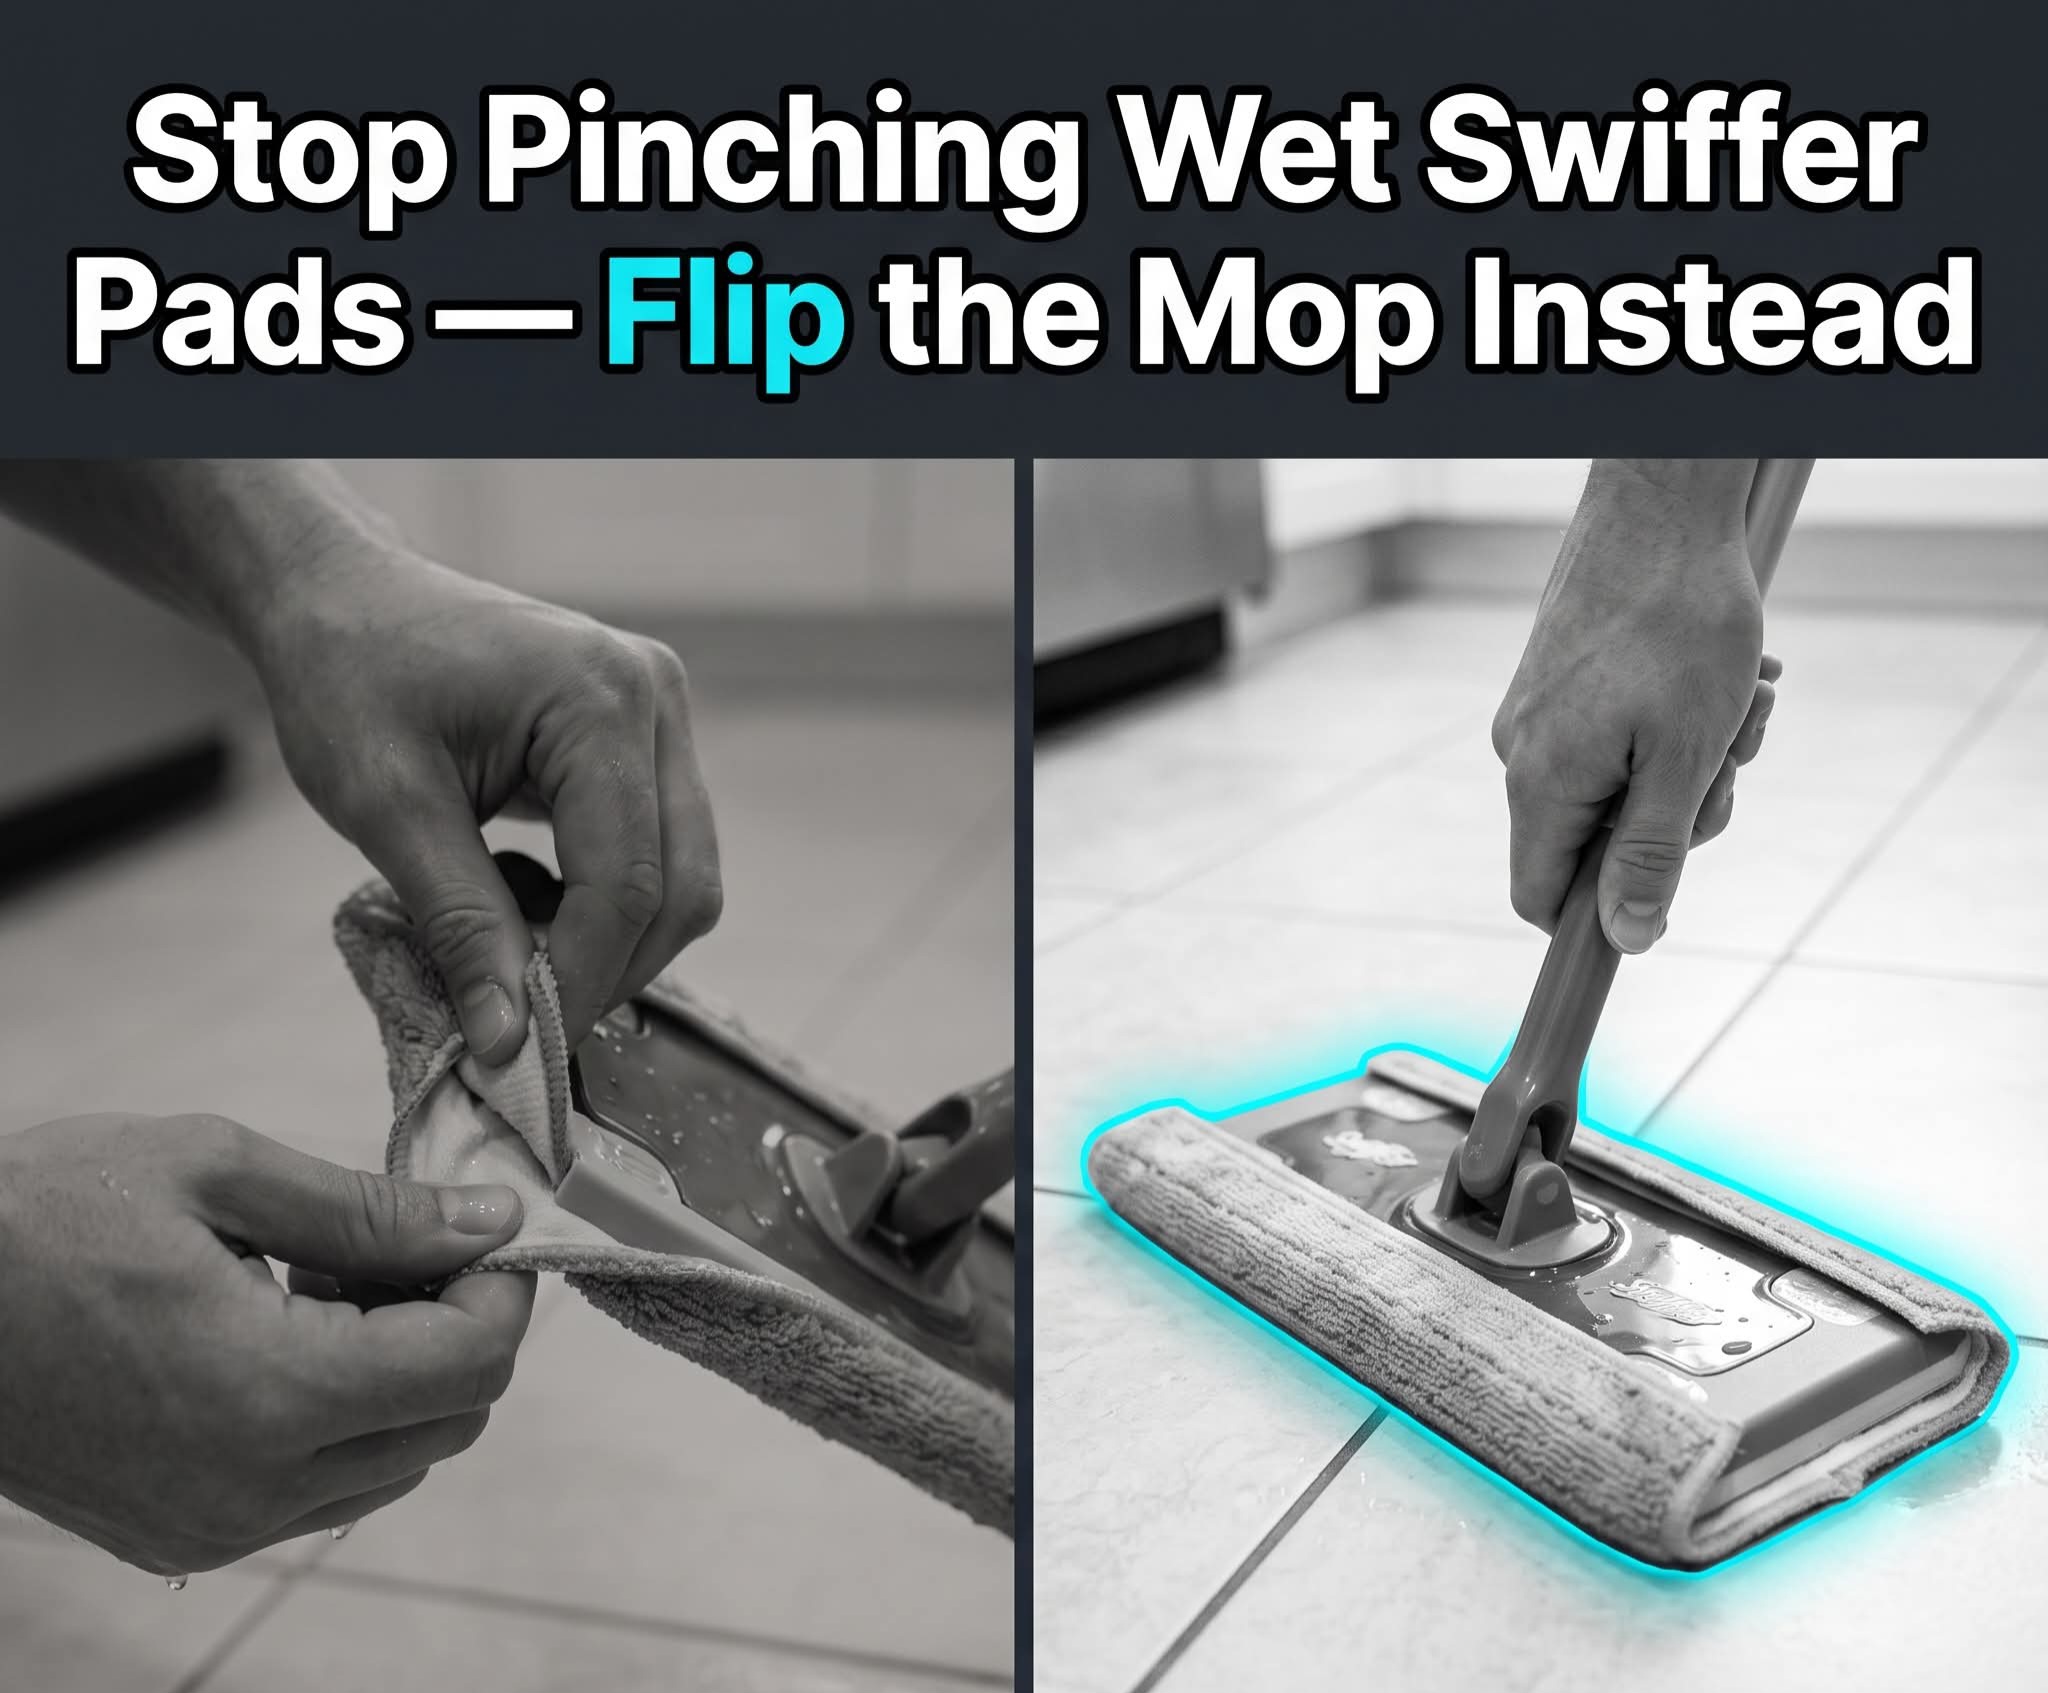
Ever fought a soggy Swiffer pad for a solid 20 seconds, fingers slipping while the corners refuse to snap into place? 🧽 A trick circulating on TikTok cleaning accounts says to flip the whole process: lay the wet pad flat on the floor, set the mop head upside down on top of it, then press down and flip the handle over 🔄 — instead of pinching each floppy corner into the four slots by hand.
We tested it, and the logic holds up. 💡 Those slots are designed to grip a corner pushed straight in with even pressure. Wet fabric stretches and slides under your fingers, so you end up fighting friction on soft, slippery cloth instead of using your body weight to press it flat. Using the mop head’s own weight to seat all four corners at once removes the finger-wrestling part entirely. 👍
We tried the flip method side by side with the standard push, for anyone tackling a kitchen and bathroom floor weekly — it held the pad snug on the first try, no re-adjusting. 🙌 Worth trying next time you’re up against a wet pad. 🕐
Have you tested this one yourself?
The Easy Swiffer Trick That Makes Wet Pads Much Easier to Attach 🧽
If you’ve ever struggled to attach a wet Swiffer pad, you’re not alone. Those slippery corners can be frustrating to push into the slots by hand.
A simple trick that’s been making the rounds online is to lay the wet pad flat on the floor, place the mop head upside down on top of it, press down firmly, and then flip the mop over. Instead of wrestling with each corner individually, the pressure helps secure the pad more evenly.
Many people find this method quicker and less frustrating, especially when the pad is wet and stretchy. While results may vary depending on the mop and pad you’re using, it’s an easy tip that’s worth trying the next time you clean your floors.
Have you tried this Swiffer hack? Let us know if it worked for you! ✨
