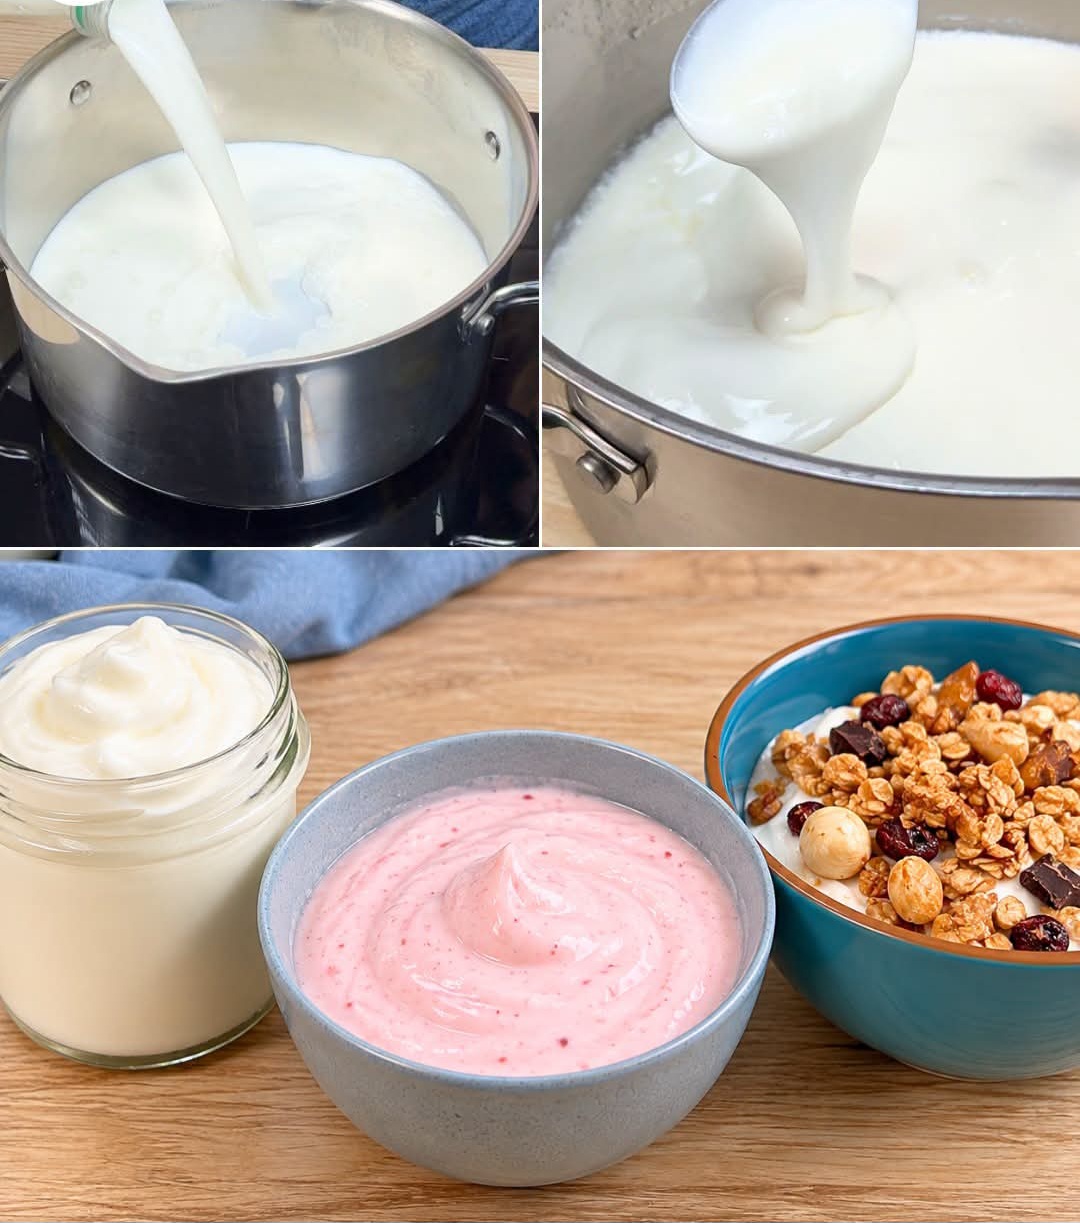
Stop Buying Yogurt! Make Homemade Yogurt With Just 2 Ingredients
Creamy, fresh, and surprisingly easy, homemade yogurt is one of those kitchen staples that sounds complicated until you actually make it.
You don’t need a yogurt maker, special equipment, or a long list of ingredients. All you need is milk and a small amount of plain yogurt containing live active cultures.
Once you try homemade yogurt, you may wonder why you ever bought it!
🥛 Ingredients
- 4 cups (1 liter) whole milk
- 2 tablespoons plain yogurt with live active cultures
Optional
For thicker yogurt, you can use whole milk and strain the finished yogurt for a Greek-style consistency.
🥄 Equipment
- Medium saucepan
- Food thermometer
- Clean glass or heatproof container with a lid
- Spoon or whisk
- Clean kitchen towel
You don’t need a yogurt maker.
👩🍳 How to Make Homemade Yogurt
1. Heat the Milk
Pour the milk into a clean saucepan.
Heat it over medium heat, stirring occasionally, until it reaches about 180°F (82°C).
Don’t let the milk scorch on the bottom of the pan.
Heating the milk first helps produce a thicker, smoother yogurt.
2. Let the Milk Cool
Remove the saucepan from the heat and allow the milk to cool to approximately 110°F (43°C).
This step is important. If the milk is too hot when you add the yogurt, the beneficial cultures may be damaged.
If you don’t have a thermometer, the milk should feel warm but not hot when touched carefully.
3. Add the Yogurt
Place the 2 tablespoons of plain yogurt in a small bowl.
Add a little of the warm milk and whisk until smooth.
Pour this mixture back into the saucepan and gently stir until evenly combined.
Make sure the yogurt you use as your starter contains live and active cultures.
4. Transfer to a Container
Pour the mixture into a clean glass jar or another heatproof container.
Cover it with a lid.
5. Keep It Warm
The yogurt needs a warm environment while the cultures do their work.
Wrap the container in a clean towel and place it somewhere warm and draft-free.
Another easy method is to place the covered container inside an unheated oven with the oven light turned on.
Let it sit undisturbed for approximately 6–12 hours.
The longer it sits, the tangier and generally firmer the yogurt will become.
6. Check the Yogurt
After about 6 hours, gently check the yogurt.
It should have thickened and have a yogurt-like consistency.
If it is still quite loose, give it more time.
Try not to move or shake the container while the yogurt is setting.
7. Refrigerate
Once the yogurt has set, place it in the refrigerator for at least 4 hours.
It will continue to firm up as it chills.
After refrigeration, give it a gentle stir and enjoy!
🥣 How to Make It Extra Thick
If you prefer thick, Greek-style yogurt, place the finished yogurt in a fine-mesh strainer lined with cheesecloth or a clean food-safe cloth.
Set it over a bowl and refrigerate while it drains.
The longer you strain it, the thicker it becomes.
The liquid that drains away is whey, which can be saved for use in certain breads, pancakes, smoothies, or other recipes.
🍓 Ways to Enjoy Homemade Yogurt
Homemade yogurt is delicious plain, but there are endless ways to serve it.
Try adding:
- Fresh berries
- Bananas
- Peaches
- Honey
- Maple syrup
- Granola
- Chopped nuts
- Cinnamon
- Vanilla
- Homemade fruit compote
You can also use it in smoothies, sauces, marinades, dressings, dips, and baking.
💡 Important Tips for Success
Use yogurt with live cultures. Check the label for wording such as “live active cultures.” Yogurt without viable cultures may not work as a starter.
Use whole milk for a richer yogurt. Lower-fat milk can work, but the finished yogurt may be less creamy.
Don’t add the starter to very hot milk. Allow the milk to cool before mixing in the yogurt.
Don’t disturb the yogurt while it incubates. Moving it around can interfere with the setting process.
Keep everything clean. Use clean utensils and containers throughout the process.
🧊 How to Store Homemade Yogurt
Keep homemade yogurt refrigerated in a clean, covered container.
For the best quality, use it within about 1–2 weeks.
Always use clean utensils when serving it, and discard it if it develops an unusual smell, color, mold, or other obvious signs of spoilage.
🥄 Save Some for Your Next Batch
Once you’ve made your first batch, you can reserve a small amount of the finished yogurt to use as the starter for your next batch, provided it remains fresh and contains active cultures.
For the most reliable results, periodically use a fresh commercial yogurt with live cultures as your starter.
Frequently Asked Questions
Can I make yogurt without a yogurt maker?
Absolutely. A yogurt maker isn’t necessary. The important part is keeping the milk-and-culture mixture warm and relatively undisturbed while fermentation takes place.
Can I use plant-based milk?
This recipe is designed for dairy milk. Plant-based milks can require additional ingredients or different techniques to achieve a thick yogurt texture.
Why is my yogurt runny?
The milk may not have stayed warm enough during incubation, the starter may not have contained active cultures, or the yogurt may simply need more incubation time. Chilling and straining can also improve the final texture.
Can I sweeten the yogurt before fermenting?
It’s generally easiest to ferment the yogurt plain and add honey, fruit, vanilla, or other flavorings after it has set.
🥛 2-Ingredient Homemade Yogurt
Prep Time: 5 minutes
Cook Time: 10 minutes
Incubation: 6–12 hours
Chilling: 4 hours
Total: About 10–16 hours
Makes: About 4 cups
Equipment: No yogurt maker required
Ingredients
- 4 cups whole milk
- 2 tablespoons plain yogurt with live active cultures
Instructions
- Heat milk to 180°F (82°C).
- Cool to about 110°F (43°C).
- Whisk the starter yogurt with a little warm milk.
- Stir it into the remaining milk.
- Cover and keep warm for 6–12 hours.
- Refrigerate for at least 4 hours.
- Enjoy plain or add your favorite toppings.
❤️ Final Thoughts
Making yogurt at home is much easier than many people expect. With just milk, a little live-culture yogurt, and some patience, you can make a creamy homemade staple without buying a yogurt maker.
Once you make your first batch, save a little starter and try another one. Add fresh fruit and honey for breakfast, use it in smoothies, or simply enjoy a bowl straight from the refrigerator.
Would you try making your own yogurt at home? 🥛🥄❤️
