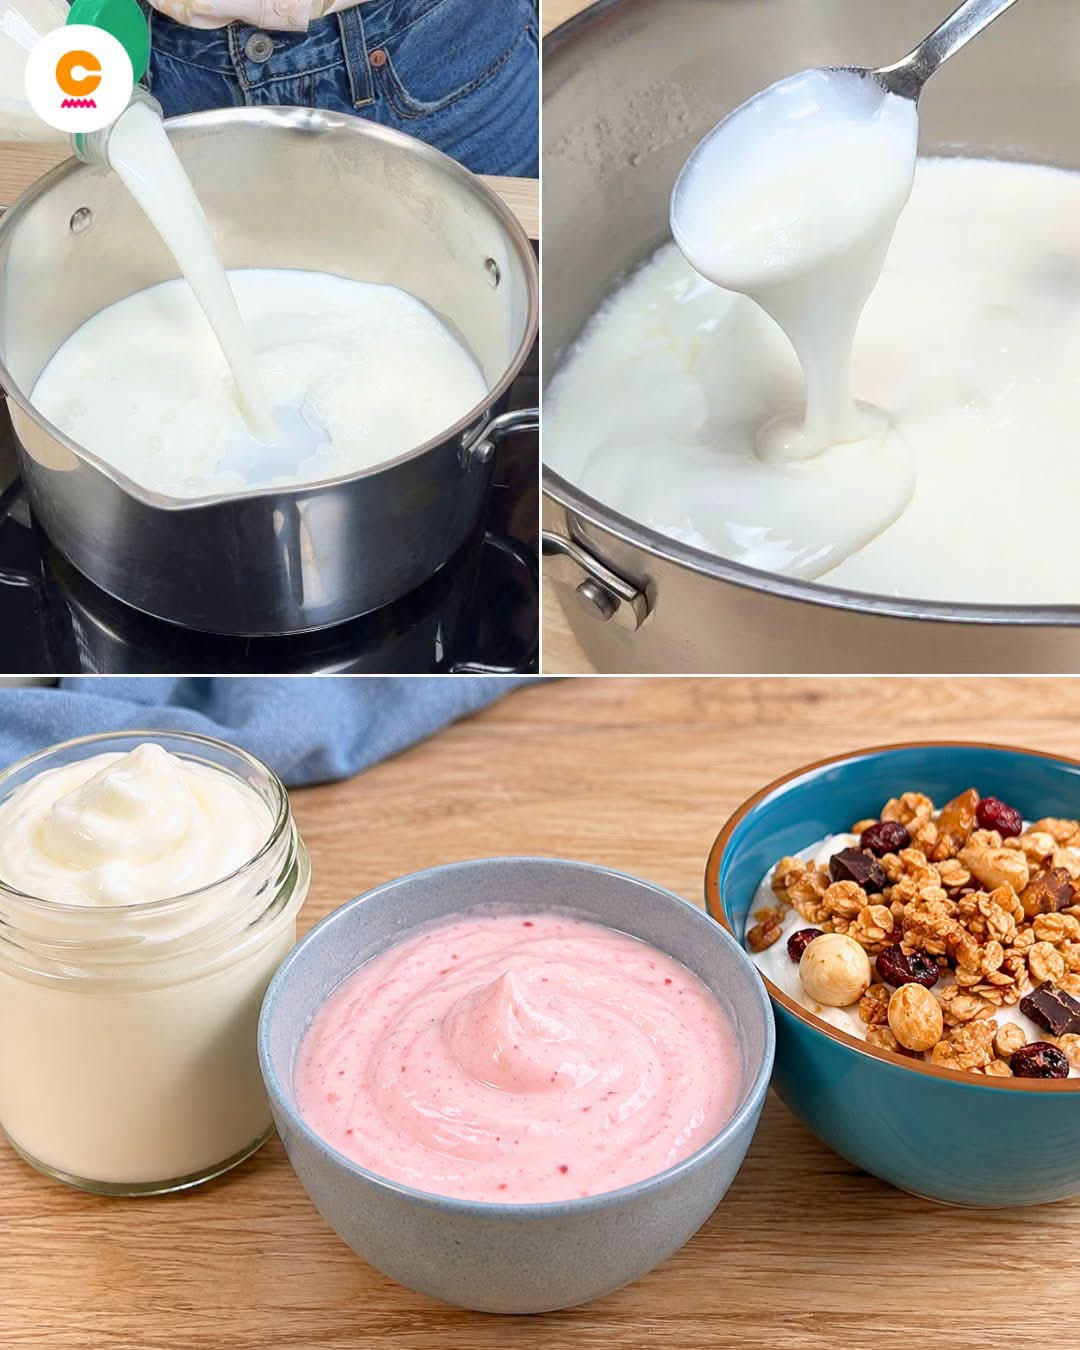
Homemade 2-Ingredient Yogurt – Thick, Creamy & Delicious!
Stop buying expensive store-bought yogurt when you can make your own at home with just TWO simple ingredients! 😍
This easy homemade yogurt recipe doesn’t require a yogurt maker, special equipment, or complicated techniques. All you need is milk, a little plain yogurt with live cultures, and some patience.
The result is fresh, creamy, delicious yogurt that you can enjoy for breakfast, snacks, smoothies, desserts, or with your favorite granola and fresh fruit.
Once you try making yogurt at home, you might never want to buy it again!
🥛 Preparation Time
- Preparation: 10 minutes
- Heating time: 10–15 minutes
- Fermentation time: 6–10 hours
- Chilling time: 3–4 hours
- Total time: Approximately 10–15 hours
- Yield: About 1 quart (1 liter)
Ingredients
- 1 liter (4 cups) whole milk
- 2 tablespoons plain, unsweetened yogurt containing live and active cultures
That’s it! Just two ingredients.
For the best results, use whole milk and fresh plain yogurt with live cultures. Avoid flavored yogurt or yogurt that has been heat-treated after fermentation.
Instructions
Step 1: Heat the Milk
Pour the milk into a clean saucepan.
Place over medium heat and slowly bring it to approximately 82–85°C (180–185°F).
Stir occasionally to prevent the milk from scorching at the bottom.
Heating the milk helps produce a thicker, creamier yogurt by changing some of the milk proteins.
Step 2: Let the Milk Cool
Remove the saucepan from the heat.
Allow the milk to cool to approximately 43–46°C (110–115°F).
This step is important because milk that is too hot can kill the beneficial bacterial cultures in your yogurt starter.
A kitchen thermometer makes this step much easier.
Step 3: Add the Yogurt Starter
Place 2 tablespoons of plain yogurt in a small bowl.
Add a few tablespoons of the warm milk and whisk until smooth.
Pour this mixture back into the saucepan.
Gently stir until everything is evenly combined.
Step 4: Let the Yogurt Ferment
Pour the mixture into a clean glass jar or heatproof container.
Cover with a lid.
Keep the container warm at approximately 43°C (110°F) for 6–10 hours.
You can use:
- An oven with a suitable yogurt or proofing setting.
- An insulated cooler with warm water surrounding the jar.
- A yogurt maker, if you have one.
Keep the temperature steady. Avoid placing the yogurt directly on an active heating element.
The longer it ferments, the tangier it generally becomes.
Step 5: Check the Texture
After approximately 6–10 hours, check whether the yogurt has set.
It should look thick and creamy, with a consistency similar to traditional plain yogurt.
If it is still too runny, allow more fermentation time while maintaining the proper temperature.
Once set, transfer it directly to the refrigerator.
Step 6: Refrigerate
Refrigerate the yogurt for at least 3–4 hours before serving.
Chilling helps the yogurt firm up and develop its final texture.
Congratulations! Your homemade yogurt is ready!
🍓 How to Make Strawberry Yogurt
Want something sweeter and fruitier?
You can easily transform your homemade yogurt into delicious strawberry yogurt.
Ingredients:
- 1 cup homemade plain yogurt
- ½ cup fresh strawberries
- 1–2 tablespoons honey or sugar (optional)
Directions:
- Wash and remove the strawberry stems.
- Blend the strawberries until smooth.
- Add the homemade yogurt.
- Mix until creamy and evenly pink.
- Add honey or sugar if desired.
- Refrigerate until ready to enjoy.
You can also use blueberries, raspberries, peaches, or mangoes.
For best food safety, add fresh fruit to individual portions rather than mixing it into the entire batch you plan to store.
🥣 Delicious Ways to Enjoy Homemade Yogurt
Here are some wonderful ways to use your homemade yogurt:
- Breakfast bowls: Add granola, walnuts, almonds, and fresh fruit.
- Smoothies: Blend with bananas, strawberries, and honey.
- Desserts: Use as a base for creamy fruit desserts.
- Yogurt parfaits: Layer yogurt with berries and crunchy granola.
- Savory dips: Mix with garlic, cucumber, lemon, and herbs.
- Creamy sauces: Use in homemade salad dressings.
⭐ Tips for Extra-Thick Homemade Yogurt
Want that thick, Greek-style consistency?
Try these simple tricks:
- Always use whole milk for a richer result.
- Heat the milk to 82–85°C before cooling it.
- Avoid disturbing the yogurt while it ferments.
- Allow enough fermentation time for it to set properly.
- For extra thickness, strain the finished refrigerated yogurt through clean cheesecloth in the refrigerator for 2–4 hours.
The longer you strain it, the thicker it becomes. Save the leftover whey for other cooking uses.
🫙 How to Store Homemade Yogurt
- Store in clean, airtight containers.
- Keep refrigerated at 4°C (40°F) or below.
- Use within approximately 7–10 days for best quality.
- Always use a clean spoon when serving.
- Discard yogurt if you notice mold, unusual discoloration, or an unpleasant smell.
You can reserve 2 tablespoons of fresh homemade yogurt as a starter for your next batch, provided it still contains active cultures.
❤️ Why You’ll Love This Recipe
Making yogurt at home is simple, economical, and gives you control over what goes into your food.
There are no artificial flavors, unnecessary thickeners, or added preservatives in this basic recipe.
Just milk, live yogurt cultures, and a little time!
A little reminder: Homemade yogurt still contains natural milk sugars (lactose), and it isn’t suitable for people with milk allergies.
☕ Let’s Talk!
Do you prefer your yogurt:
- Plain and creamy?
- Sweetened with honey?
- Mixed with fresh strawberries?
- Topped with homemade granola, nuts, and dried fruit?
Tell me your favorite combination in the comments! 😍🥛
